
As a link management platform, Dub.co stores various user-generated image assets:
- Images for our Custom Social Media Cards feature
- Logos for every Dub Workspace
- User avatars
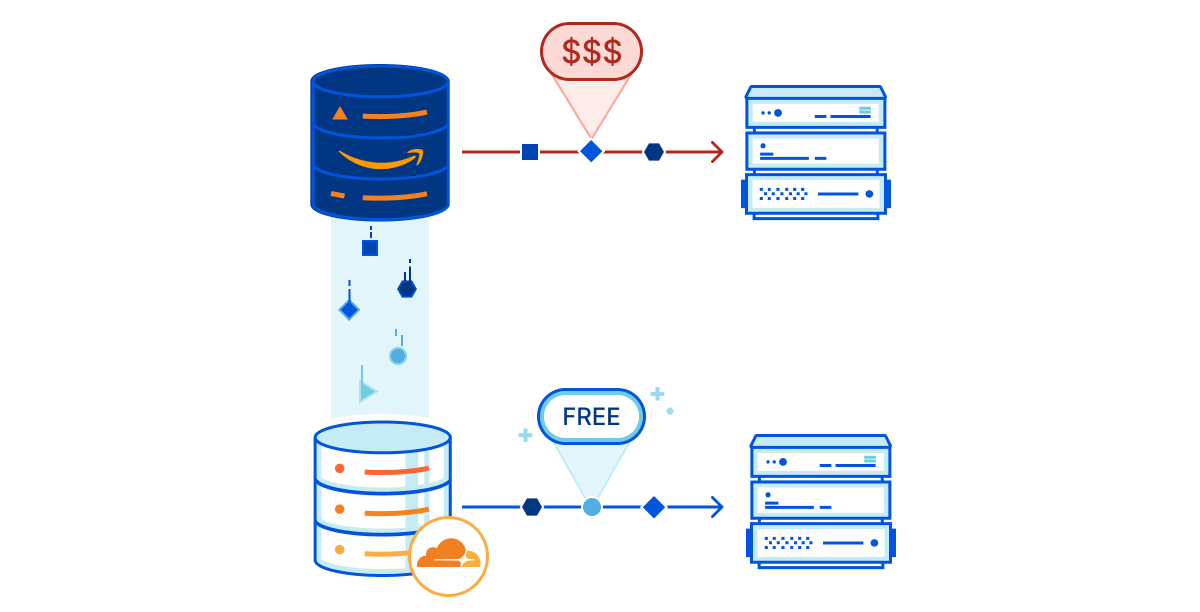
As we scaled, we realized that our existing image hosting solution was not optimized for cost and our open-source ethos. We were using Cloudinary, which is a great service, but it was becoming expensive as we scaled. It's also not open-source, which makes it not optimal for self-hosting.
That's why we recently migrated our image hosting from Cloudinary to Cloudflare R2. In this post, we'll share our journey, the pros and cons of Cloudflare R2, and how we set it up in our codebase.
What is Cloudflare R2?
Cloudflare R2 is a storage solution that promises scalability and affordability. It's designed to be compatible with S3, making it an attractive option for those looking to switch from traditional AWS services. It also allows us to use Cloudflare services but support AWS for those who want to self-host and stick to the AWS ecosystem.
Pros of Cloudflare R2
- Ease of Setup: Getting started with R2 is straightforward, especially if you're already using Cloudflare services. It's as simple as creating a bucket, and that's all. It's like S3 + Cloudfront and auto-configured.
- S3 Compatibility: This makes migration from AWS simpler and allows for the use of existing S3 tools and libraries. All you need to do is update your S3 URL, Access Key and Secret Token.
- Pricing: Cloudflare R2 offers competitive pricing, especially regarding egress fees, which can be a significant cost with other services.
Cons of Cloudflare R2
- Domain Requirements: If you want to use R2 with a custom domain – or even a subdomain – your apex domain needs to be managed by Cloudflare nameserver. In our case, since our main domain
dub.cowas not on Cloudflare, we couldn't use a subdomain likeassets.dub.coand had to go withdubassets.cominstead. - CORS Issues: There have been reports of CORS-related challenges, which can be a pain point for web applications – we ran into this ourselves.
- Single-region: Unlike some other Cloudflare services, R2 storage is single-region and not distributed at the edge, which can affect latency. Regardless, it's still really fast!
Interestingly, not being able to use a subdomain (assets.dub.co) and having
to go with dubassets.com turned out to be a blessing in disguise since it's
generally better to host user-generated assets on a separate domain for
security reasons.
This is a the same reason why GitHub uses
githubusercontent.com for user-generated content. This Reddit
comment
explains it well.
Implementation
Here is the PR where we made the change:
To summarize, here are the steps we took to implement Cloudflare R2:
- Set up a new R2 bucket
- Create a
storageclient for uploading and deleting images - Handle image resizing on upload
- Swap out Cloudinary code for
storageclient
Step 1: Set up a new R2 bucket
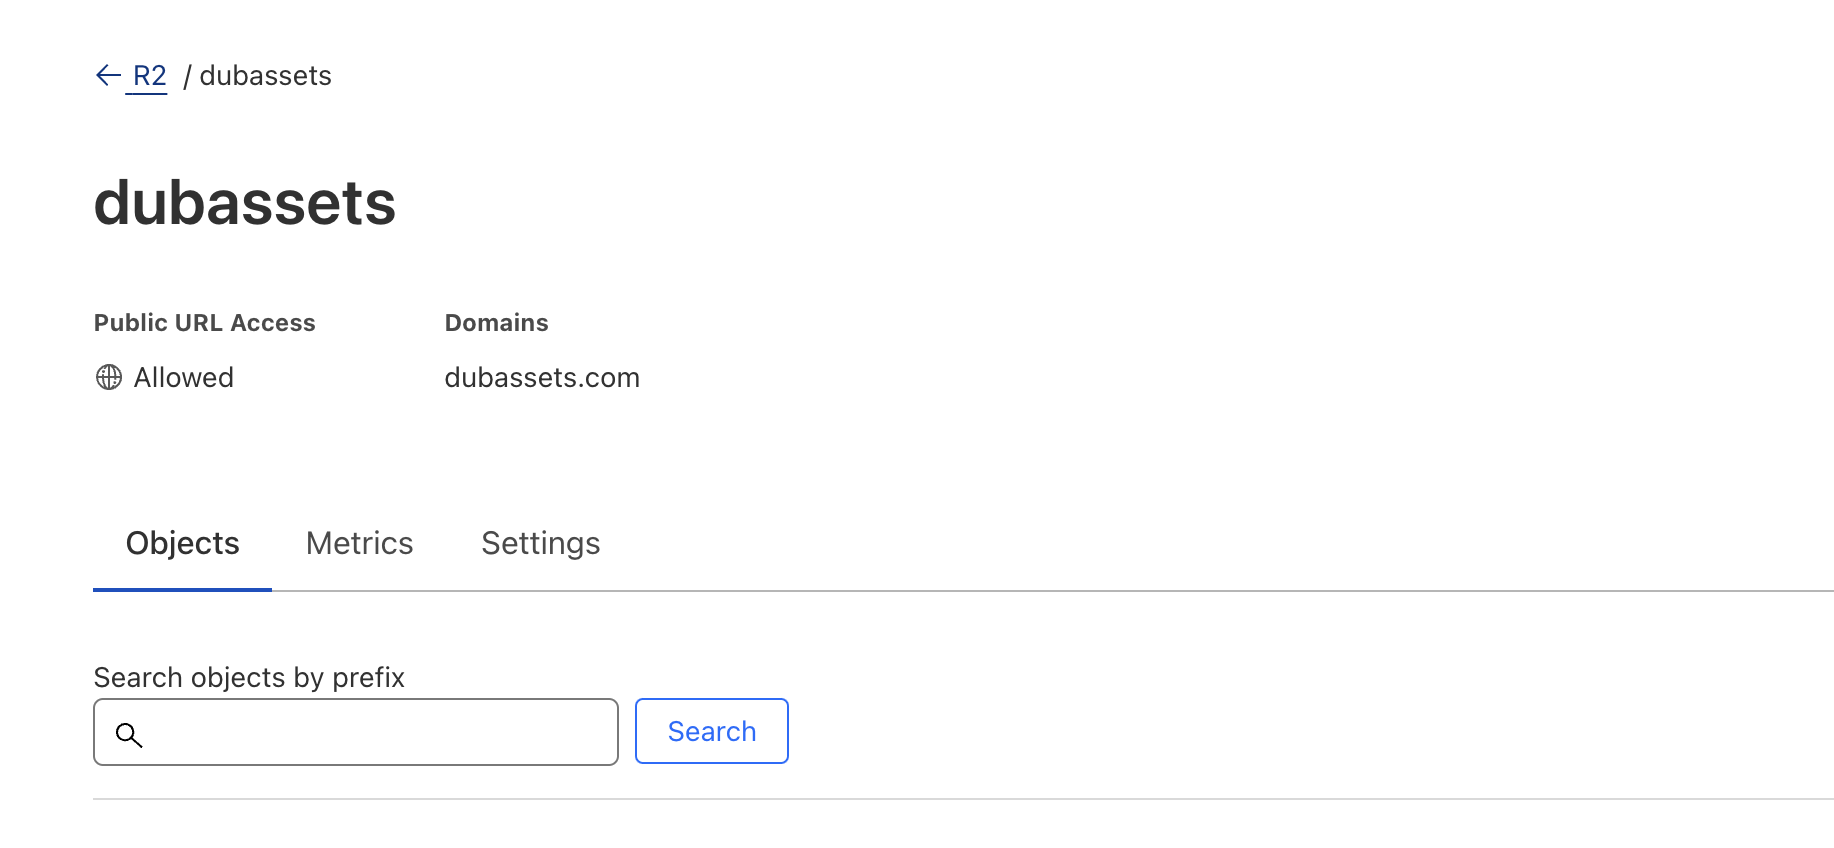
First, we set up a new R2 bucket by following these steps.
We named our R2 bucket dubassets and created it in the Eastern North America (ENAM) region. We also set up a custom domain dubassets.com to point to the R2 bucket to leverage Cloudflare Cache to accelerate access to our R2 bucket.
Step 2: Create storage client for uploading and deleting images
Then, created a storage client that would allow us to upload and delete images:
import { AwsClient } from "aws4fetch";

interface imageOptions {
  contentType?: string;
  width?: number;
  height?: number;
}

class StorageClient {
  private client: AwsClient;

  constructor() {
    this.client = new AwsClient({
      accessKeyId: process.env.STORAGE_ACCESS_KEY_ID || "",
      secretAccessKey: process.env.STORAGE_SECRET_ACCESS_KEY || "",
      service: "s3",
      region: "auto",
    });
  }

  async upload(key: string, body: Blob | Buffer | string, opts?: imageOptions) {
    // ... helper functions to format the body

    const headers = {
      "Content-Length": uploadBody.size.toString(),
    };
    if (opts?.contentType) headers["Content-Type"] = opts.contentType;

    try {
      await this.client.fetch(`${process.env.STORAGE_ENDPOINT}/${key}`, {
        method: "PUT",
        headers,
        body: uploadBody,
      });

      return {
        url: `${process.env.STORAGE_BASE_URL}/${key}`,
      };
    } catch (error) {
      throw new Error(`Failed to upload file: ${error.message}`);
    }
  }

  async delete(key: string) {
    await this.client.fetch(`${process.env.STORAGE_ENDPOINT}/${key}`, {
      method: "DELETE",
    });

    return { success: true };
  }
}

export const storage = new StorageClient();
Note: All of our image uploads are handled server-side so we don't have to worry about presigned URL uploads.
You'll notice we are using aws4fetch and not the aws-sdk/client-s3 SDK. There are 2 reasons for this:
- Edge-compatible: The AWS S3 SDK is not edge-compatible with the edge runtime, while
aws4fetchis. This is because the AWS SDK uses Node.js APIs that are not available in the edge runtime. - Simple Interface:
aws4fetchoffers a simple interface for making requests, which is all we need for our use case.
You can view this code in our codebase here.
Step 3: Handle image resizing on upload
We also needed to handle image resizing on upload to avoid storing unnecessarily large images in R2. Given that most Open Graph (OG) images are 1200 x 630, we decided to resize all images to this size.
To do this, we resized the image on the client-side before uploading it to the server. This was done using the canvas API.
export const resizeImage = (
  file: File,
  opts: {
    width: number;
    height: number;
    quality: number;
  } = {
    width: 1200, // Desired output width
    height: 630, // Desired output height
    quality: 1.0, // Set quality to maximum
  },
): Promise<string> => {
  return new Promise((resolve, reject) => {
    const reader = new FileReader();
    reader.onload = (e: ProgressEvent<FileReader>) => {
      const img = new Image();
      img.src = e.target?.result as string;
      img.onload = () => {
        const targetWidth = opts.width;
        const targetHeight = opts.height;
        const canvas = document.createElement("canvas");
        canvas.width = targetWidth;
        canvas.height = targetHeight;

        const ctx = canvas.getContext("2d") as CanvasRenderingContext2D;
        ctx.imageSmoothingQuality = "high"; // Set image smoothing quality to high

        // Calculating the aspect ratio
        const sourceWidth = img.width;
        const sourceHeight = img.height;
        const sourceAspectRatio = sourceWidth / sourceHeight;
        const targetAspectRatio = targetWidth / targetHeight;

        let drawWidth: number;
        let drawHeight: number;
        let offsetX = 0;
        let offsetY = 0;

        // Adjust drawing sizes based on the aspect ratio
        if (sourceAspectRatio > targetAspectRatio) {
          // Source is wider
          drawHeight = sourceHeight;
          drawWidth = sourceHeight * targetAspectRatio;
          offsetX = (sourceWidth - drawWidth) / 2;
        } else {
          // Source is taller or has the same aspect ratio
          drawWidth = sourceWidth;
          drawHeight = sourceWidth / targetAspectRatio;
          offsetY = (sourceHeight - drawHeight) / 2;
        }

        // Draw the image onto the canvas
        ctx.drawImage(
          img,
          offsetX,
          offsetY,
          drawWidth,
          drawHeight,
          0,
          0,
          targetWidth,
          targetHeight,
        );

        // Convert the canvas to a base64 string
        const base64Image = canvas.toDataURL("image/jpeg", opts.quality);
        resolve(base64Image);
      };
      img.onerror = (error) =>
        reject(new Error("Image loading error: " + error));
    };
    reader.onerror = (error) => reject(new Error("FileReader error: " + error));
    reader.readAsDataURL(file);
  });
};
You can view this code in our codebase here.
Step 4: Swap out Cloudinary code for storage client
Once all of that were in place, we simply switched out the Cloudinary code for our new storage client.
Instead of the following:
cloudinary.v2.uploader.upload(image, {
  public_id: linkId,
  overwrite: true,
  invalidate: true,
});
We now have a one-liner:
storage.upload(linkId, image);Migration Process
After we pushed the code changes to production, it was time to run the migration to move all existing images from Cloudinary to R2.
Here's the migration script we used:
import prisma from "@/lib/prisma";
import { storage } from "@/lib/storage";
import "dotenv-flow/config";

async function main() {
  const imagesToMigrate = await prisma.link.findMany({
    where: {
      proxy: true,
      image: {
        startsWith: "https://res.cloudinary.com",
      },
    },
    select: {
      id: true,
      image: true,
    },
    take: 30,
  });

  await Promise.allSettled(
    imagesToMigrate.map(async (link) => {
      const { url } = await storage.upload(`images/${link.id}`, link.image, {
        width: 1200,
        height: 630,
      });

      await prisma.link.update({
        where: {
          id: link.id,
        },
        data: {
          image: url,
        },
      });
    }),
  );
}

main();
We did this in batches of 30 images at a time to avoid hitting rate limits. We also resized the images to 1200 x 630 during the migration.
Potential gotcha: CORS
CORS: The bane of every web developer's existence.
After the migration, we noticed that while the images worked when requested directly, they wouldn't load when embedded in our QR codes.
After some debugging, we realized that the issue was due to CORS. Since we were using a custom domain, we had to set up a CORS rule in our R2 bucket to allow requests from our domain.
To do that, we had to follow this guide and set the following CORS configuration:
[
  {
    "AllowedOrigins": ["*"],
    "AllowedMethods": ["GET", "HEAD"],
    "AllowedHeaders": ["*"],
    "ExposeHeaders": []
  }
]
If this still doesn't work, you might need to set a custom Transform Rule in
Cloudflare to add the Access-Control-Allow-Origin header to the response (as
per this answer on Cloudflare's
forum).
Scalable & open-source friendly image hosting with Cloudflare R2
We're very excited about what this migration to Cloudflare R2 unlocks for Dub. Not only does it save us money in the long run, it also aligns with our open-source ethos and makes it easier for users to self-host Dub.
Our codebase is fully open-source, so feel free to check it out and learn more about how we implemented Cloudflare R2:
And if you're looking for an affordable and scalable image hosting solution, we highly recommend giving Cloudflare R2 a try.