This feature is only available on Dub Enterprise.
For Dub Enterprise users, you can automatically provision and deprovision users from your Okta directory to Dub using SCIM Directory Sync.
Prerequisites
Before you can configure SCIM Directory Sync, you need to create a SAML application in Okta. See Configuring SAML SSO with Okta for more information.
Step 1: Configure Directory Sync on Dub
In your workspace dashboard on Dub, click on the Settings tab in the menu bar at the top. Then, click on the Security tab in the sidebar.
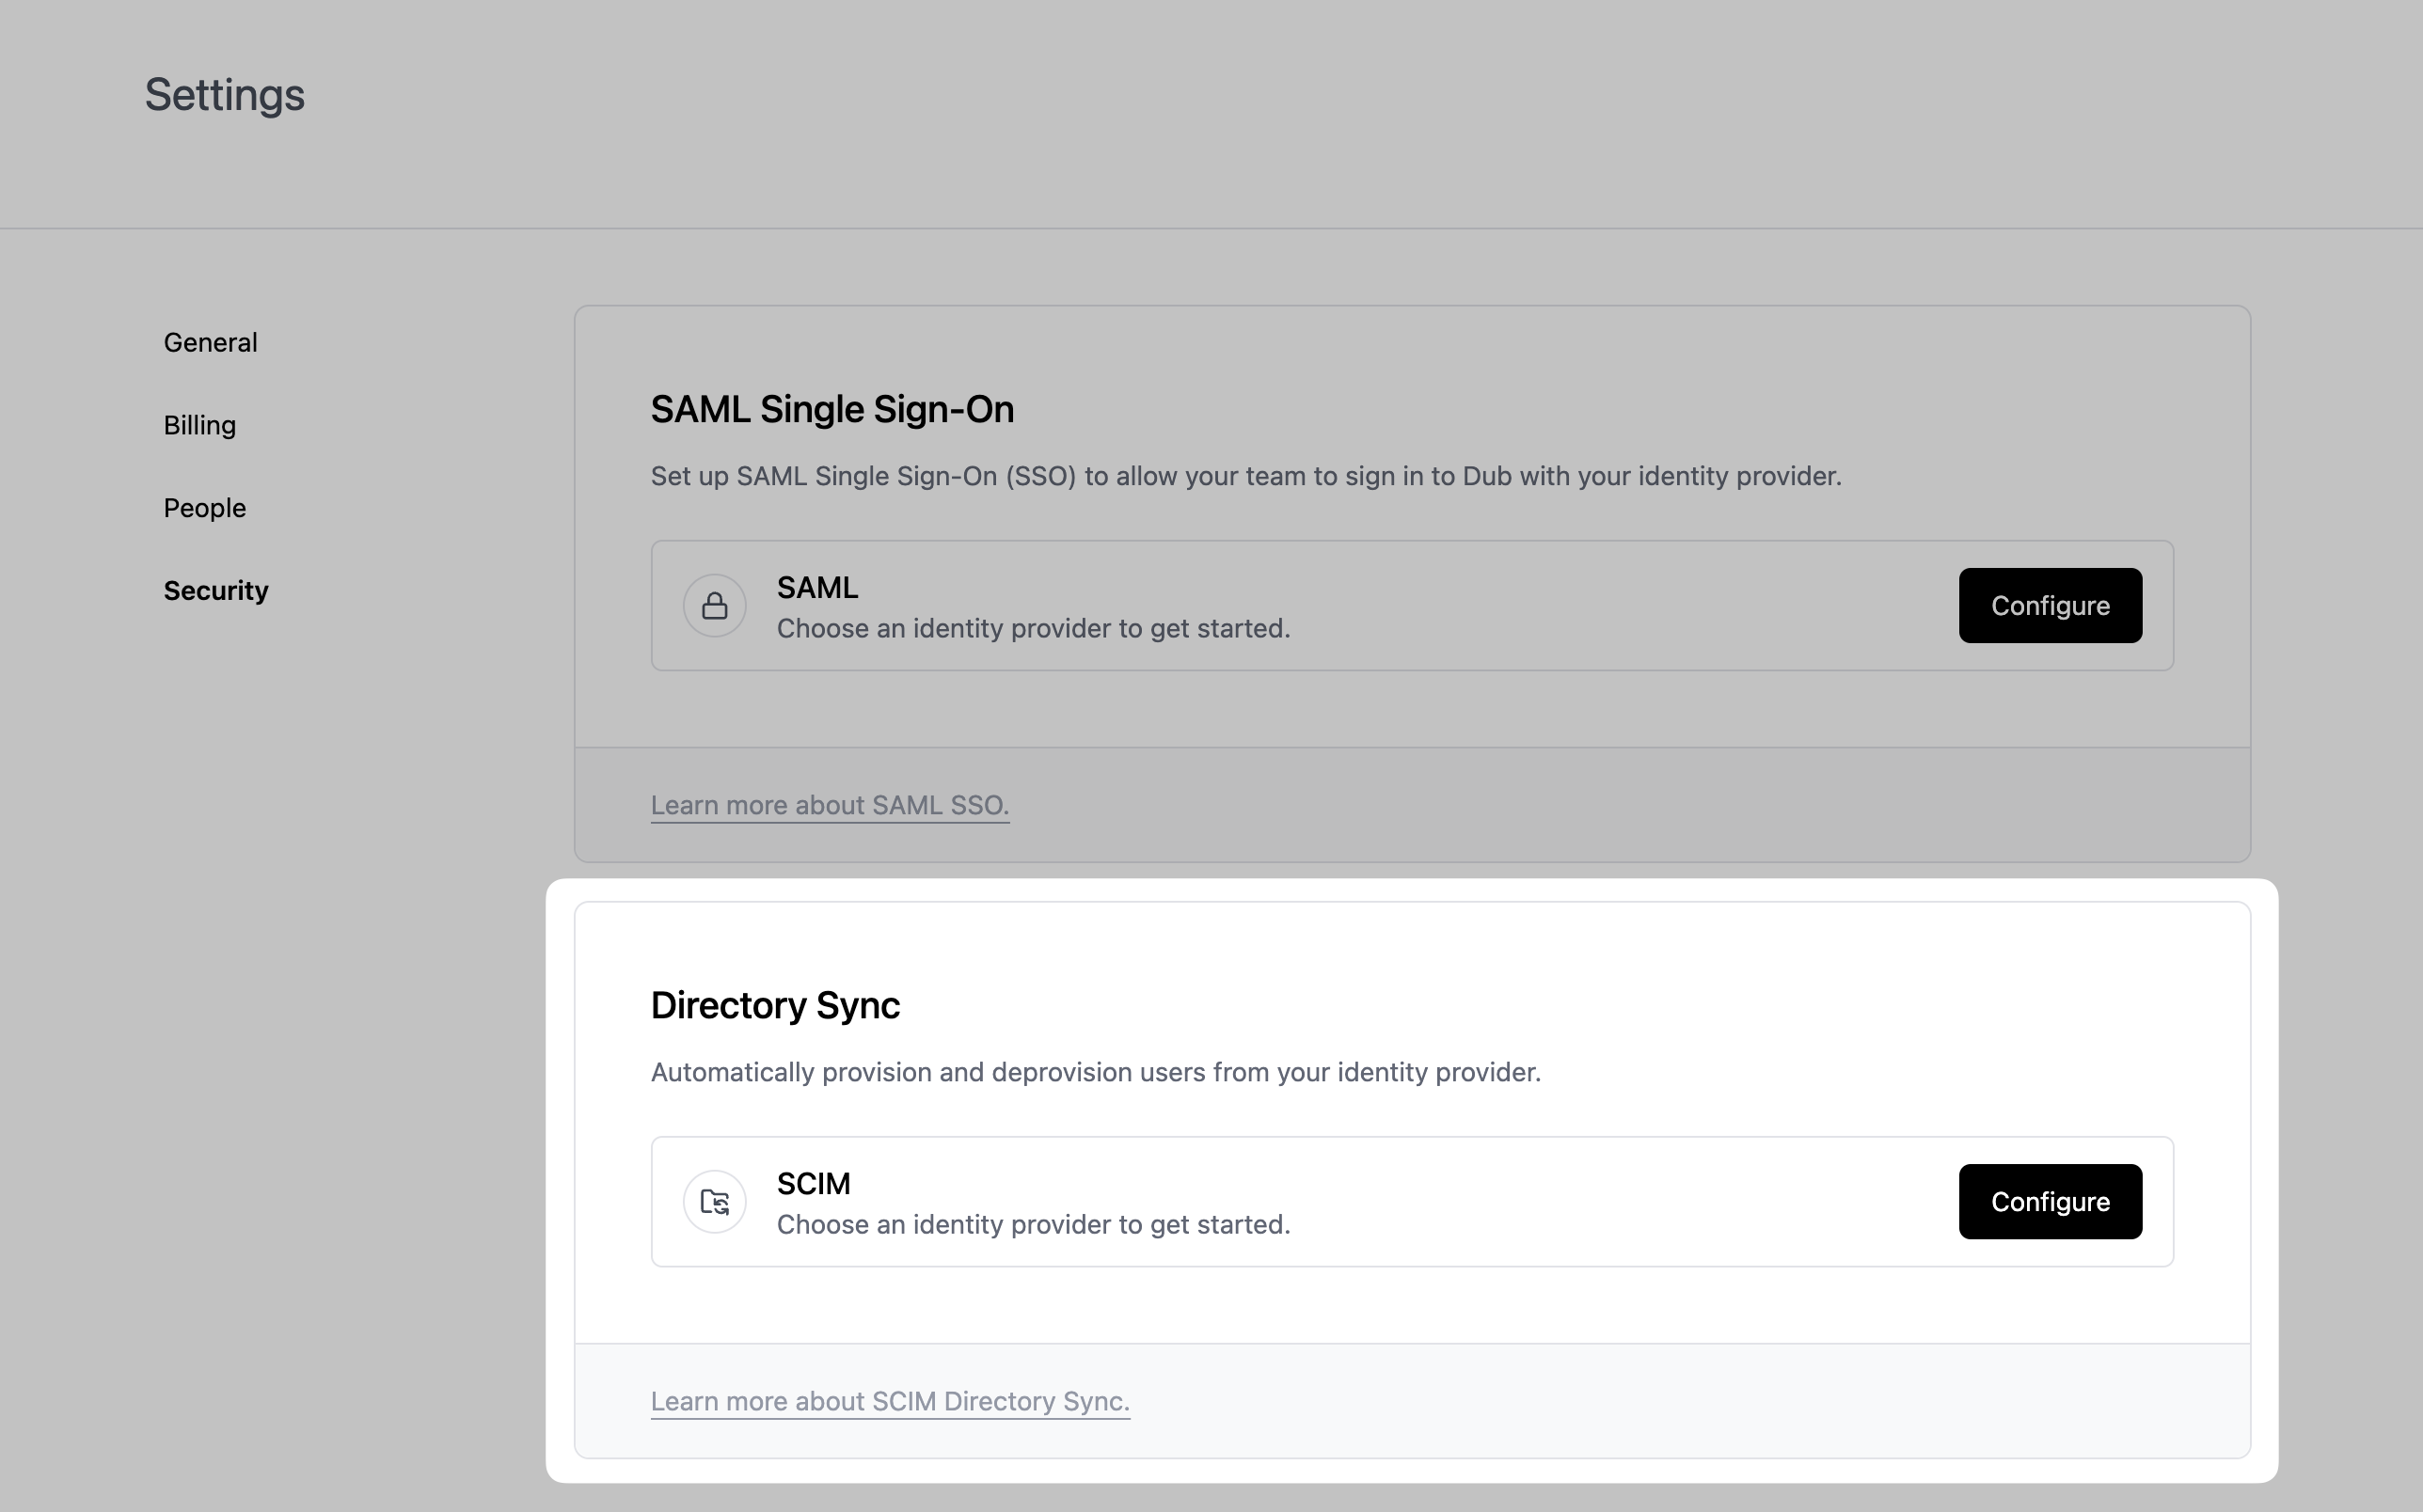
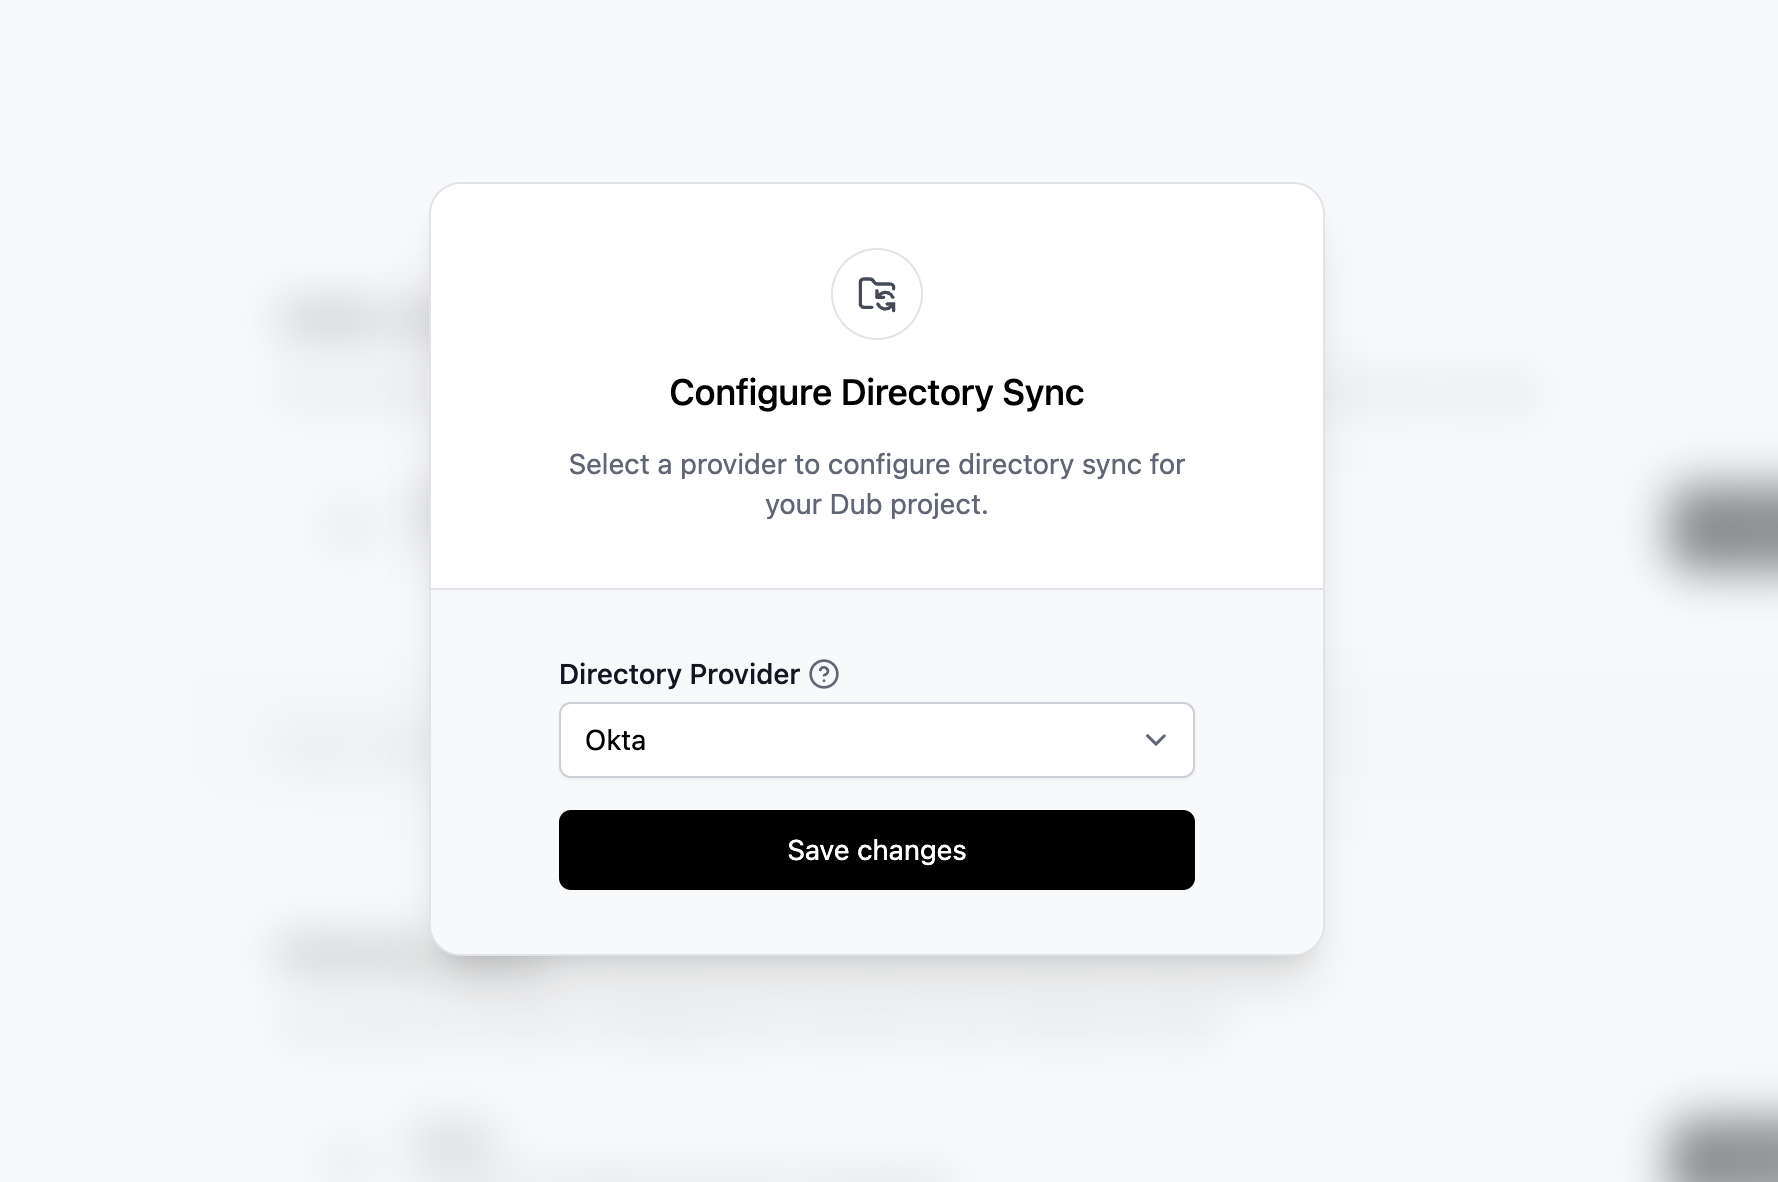
Under the Directory Sync section, click on Configure. This will open up the Directory Sync modal:
- Select Okta as the Directory Provider.
- Click Save changes.
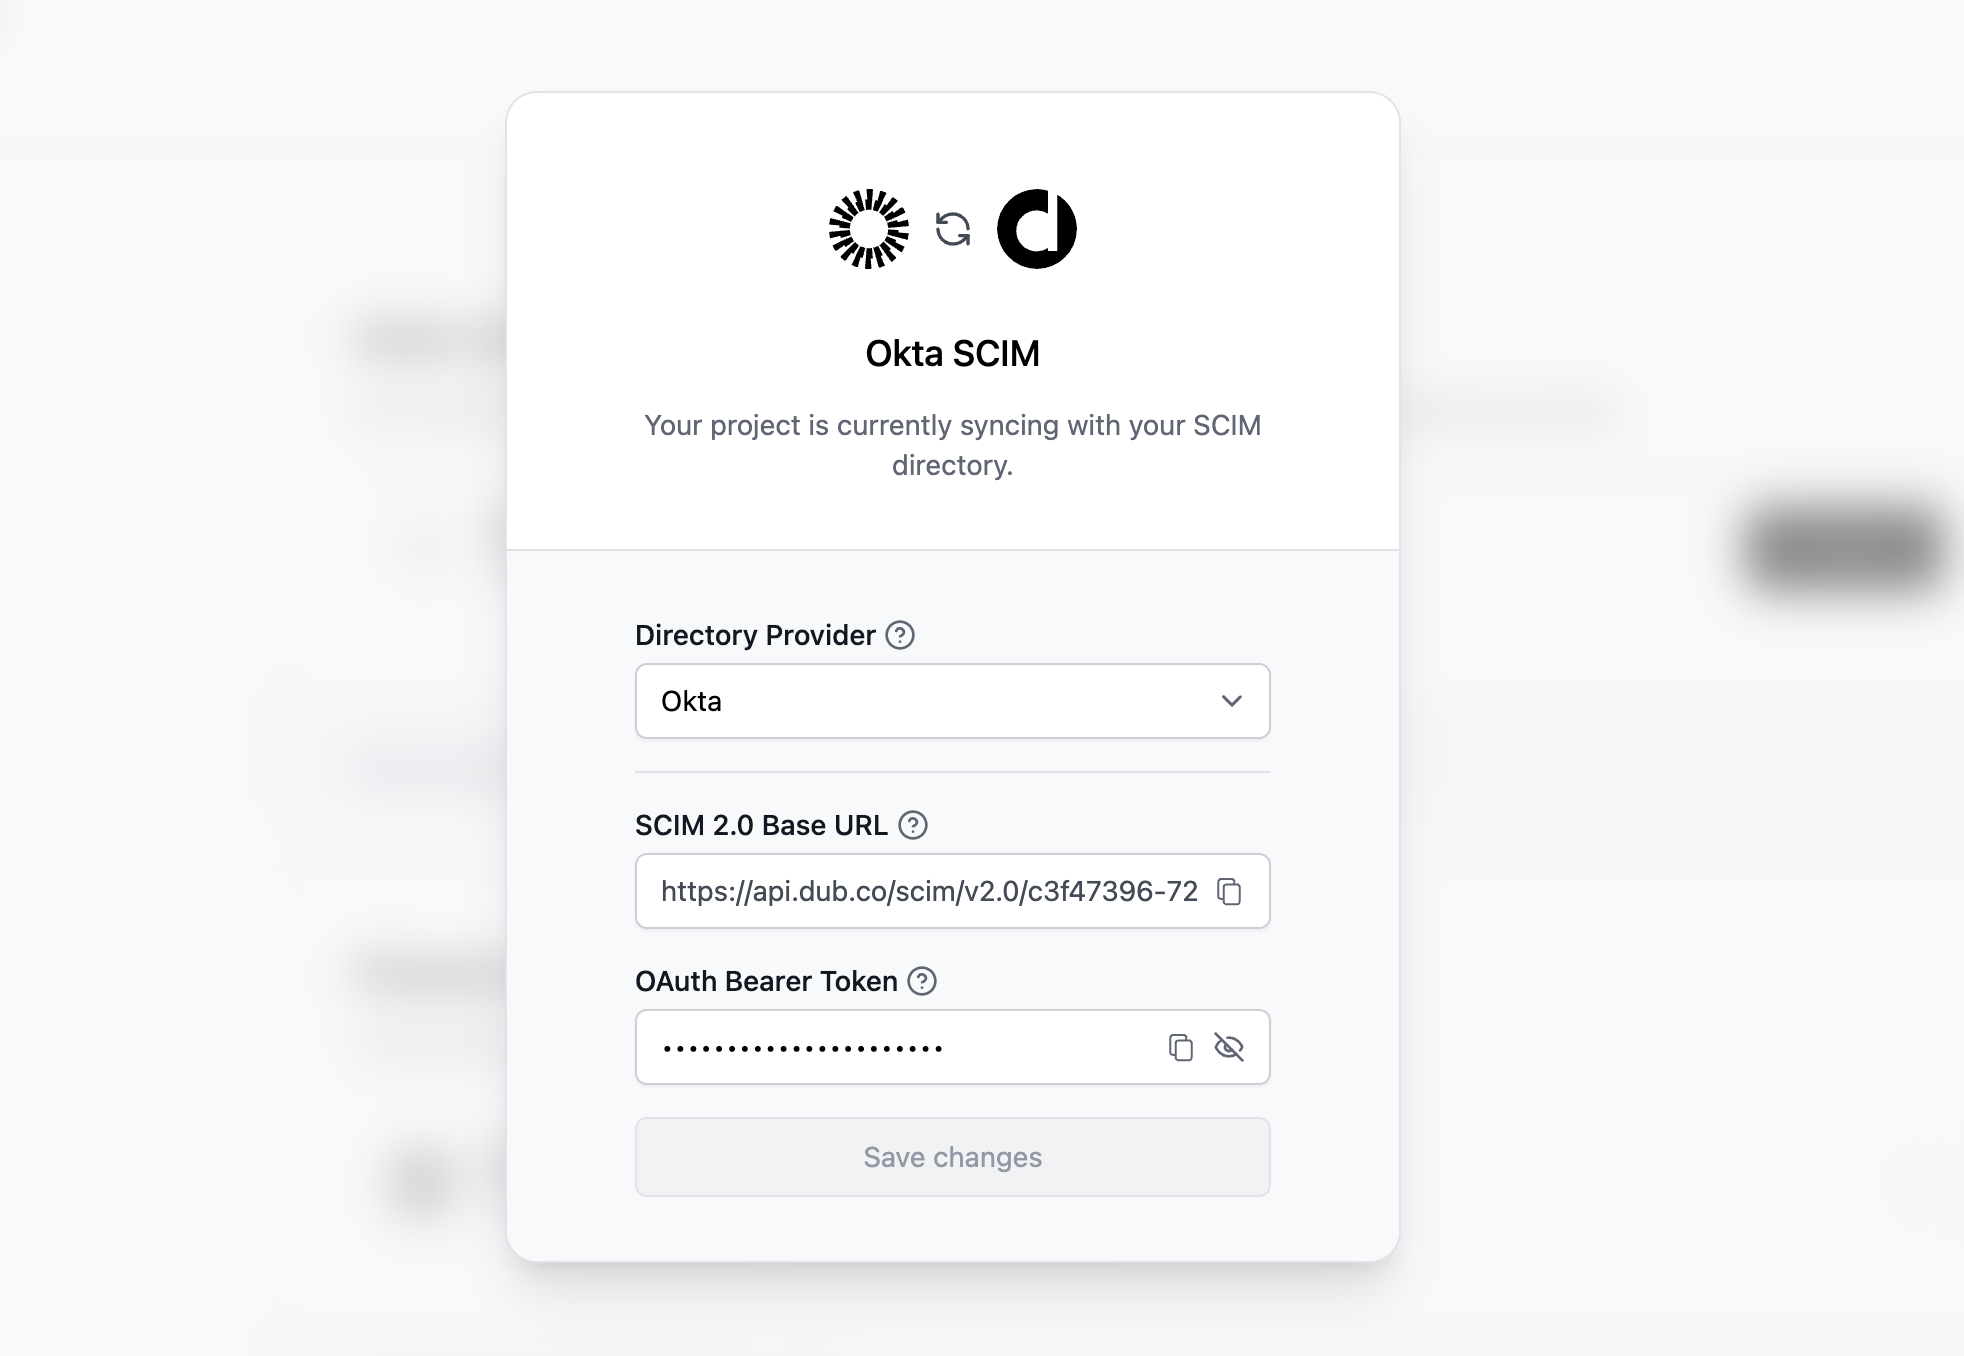
This will generate a Directory Sync connection for your Dub workspace, and return 2 values, which will be needed in Step 2:
- SCIM 2.0 Base URL
- OAuth Bearer Token
Step 2: Add Provisioning to SAML Application
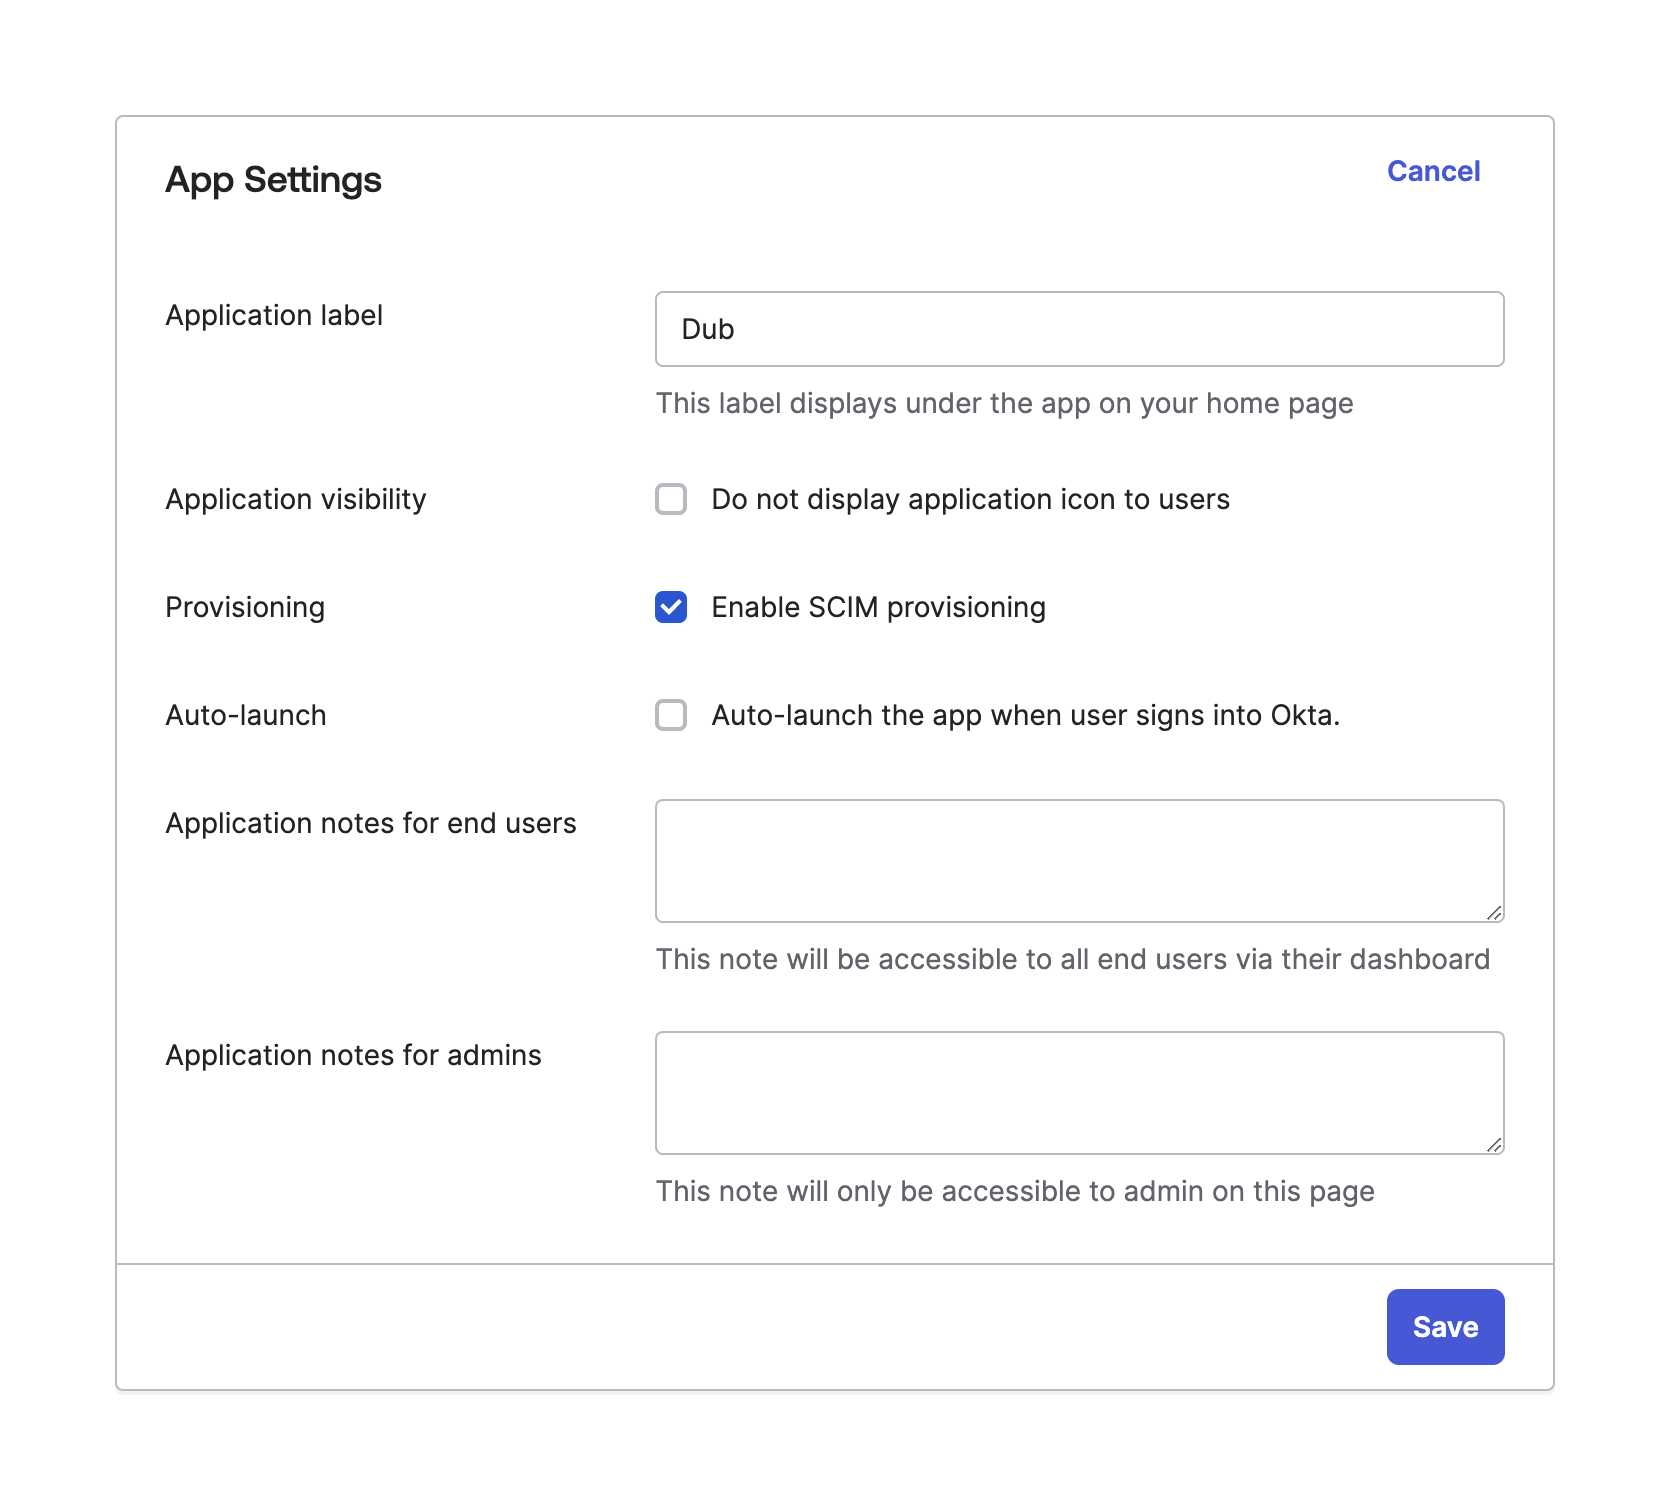
Go to the General tab of your existing Dub Okta SAML application that you want to enable SCIM provisioning for. Under App Settings click Edit.

Select the "Enable SCIM provisioning" option and click Save.
You should now see a Provisioning tab. Select it and click Edit.
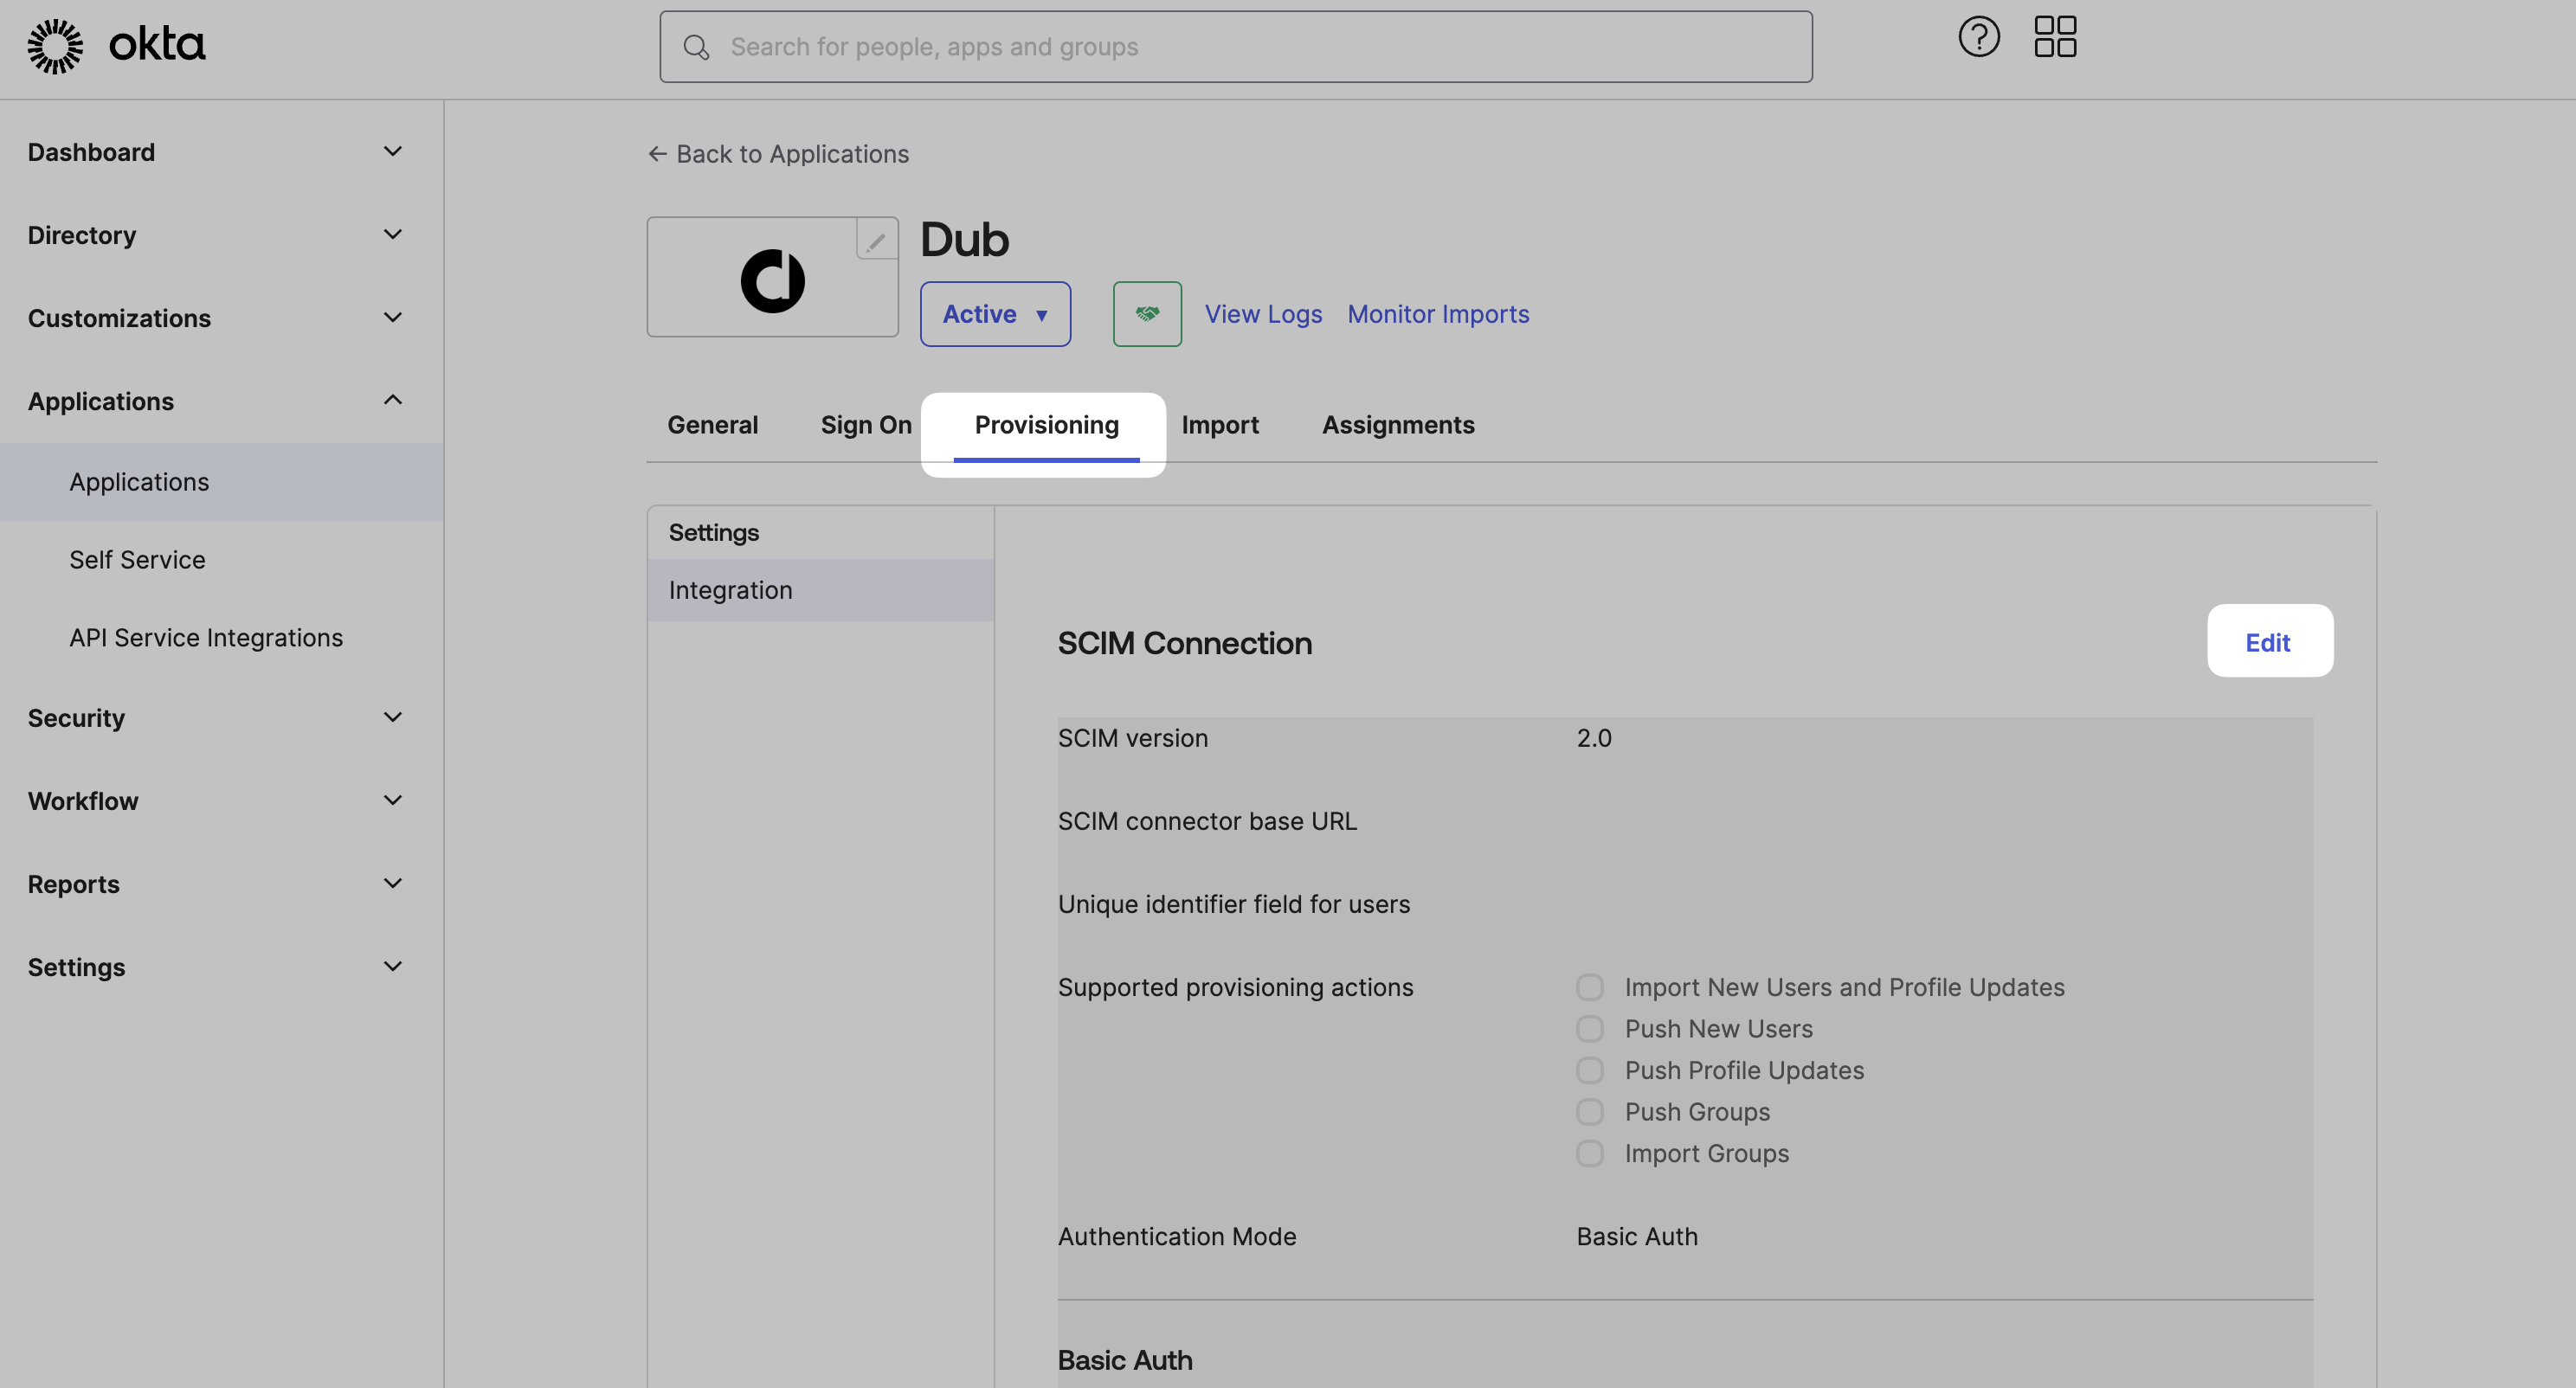
-
Under the SCIM connector base URL field, enter the SCIM 2.0 Base URL value from Step 1.
-
Under Unique identifier field for users, enter
userName.
Copy this unique identifier
- Under Supported provisioning actions, select the following options:
- Push New Users
- Push Profile Updates
- Push groups
-
Under Authentication Mode, select HTTP Header.
-
Copy & paste the OAuth Bearer Token value from Step 1 into the Authorization field.
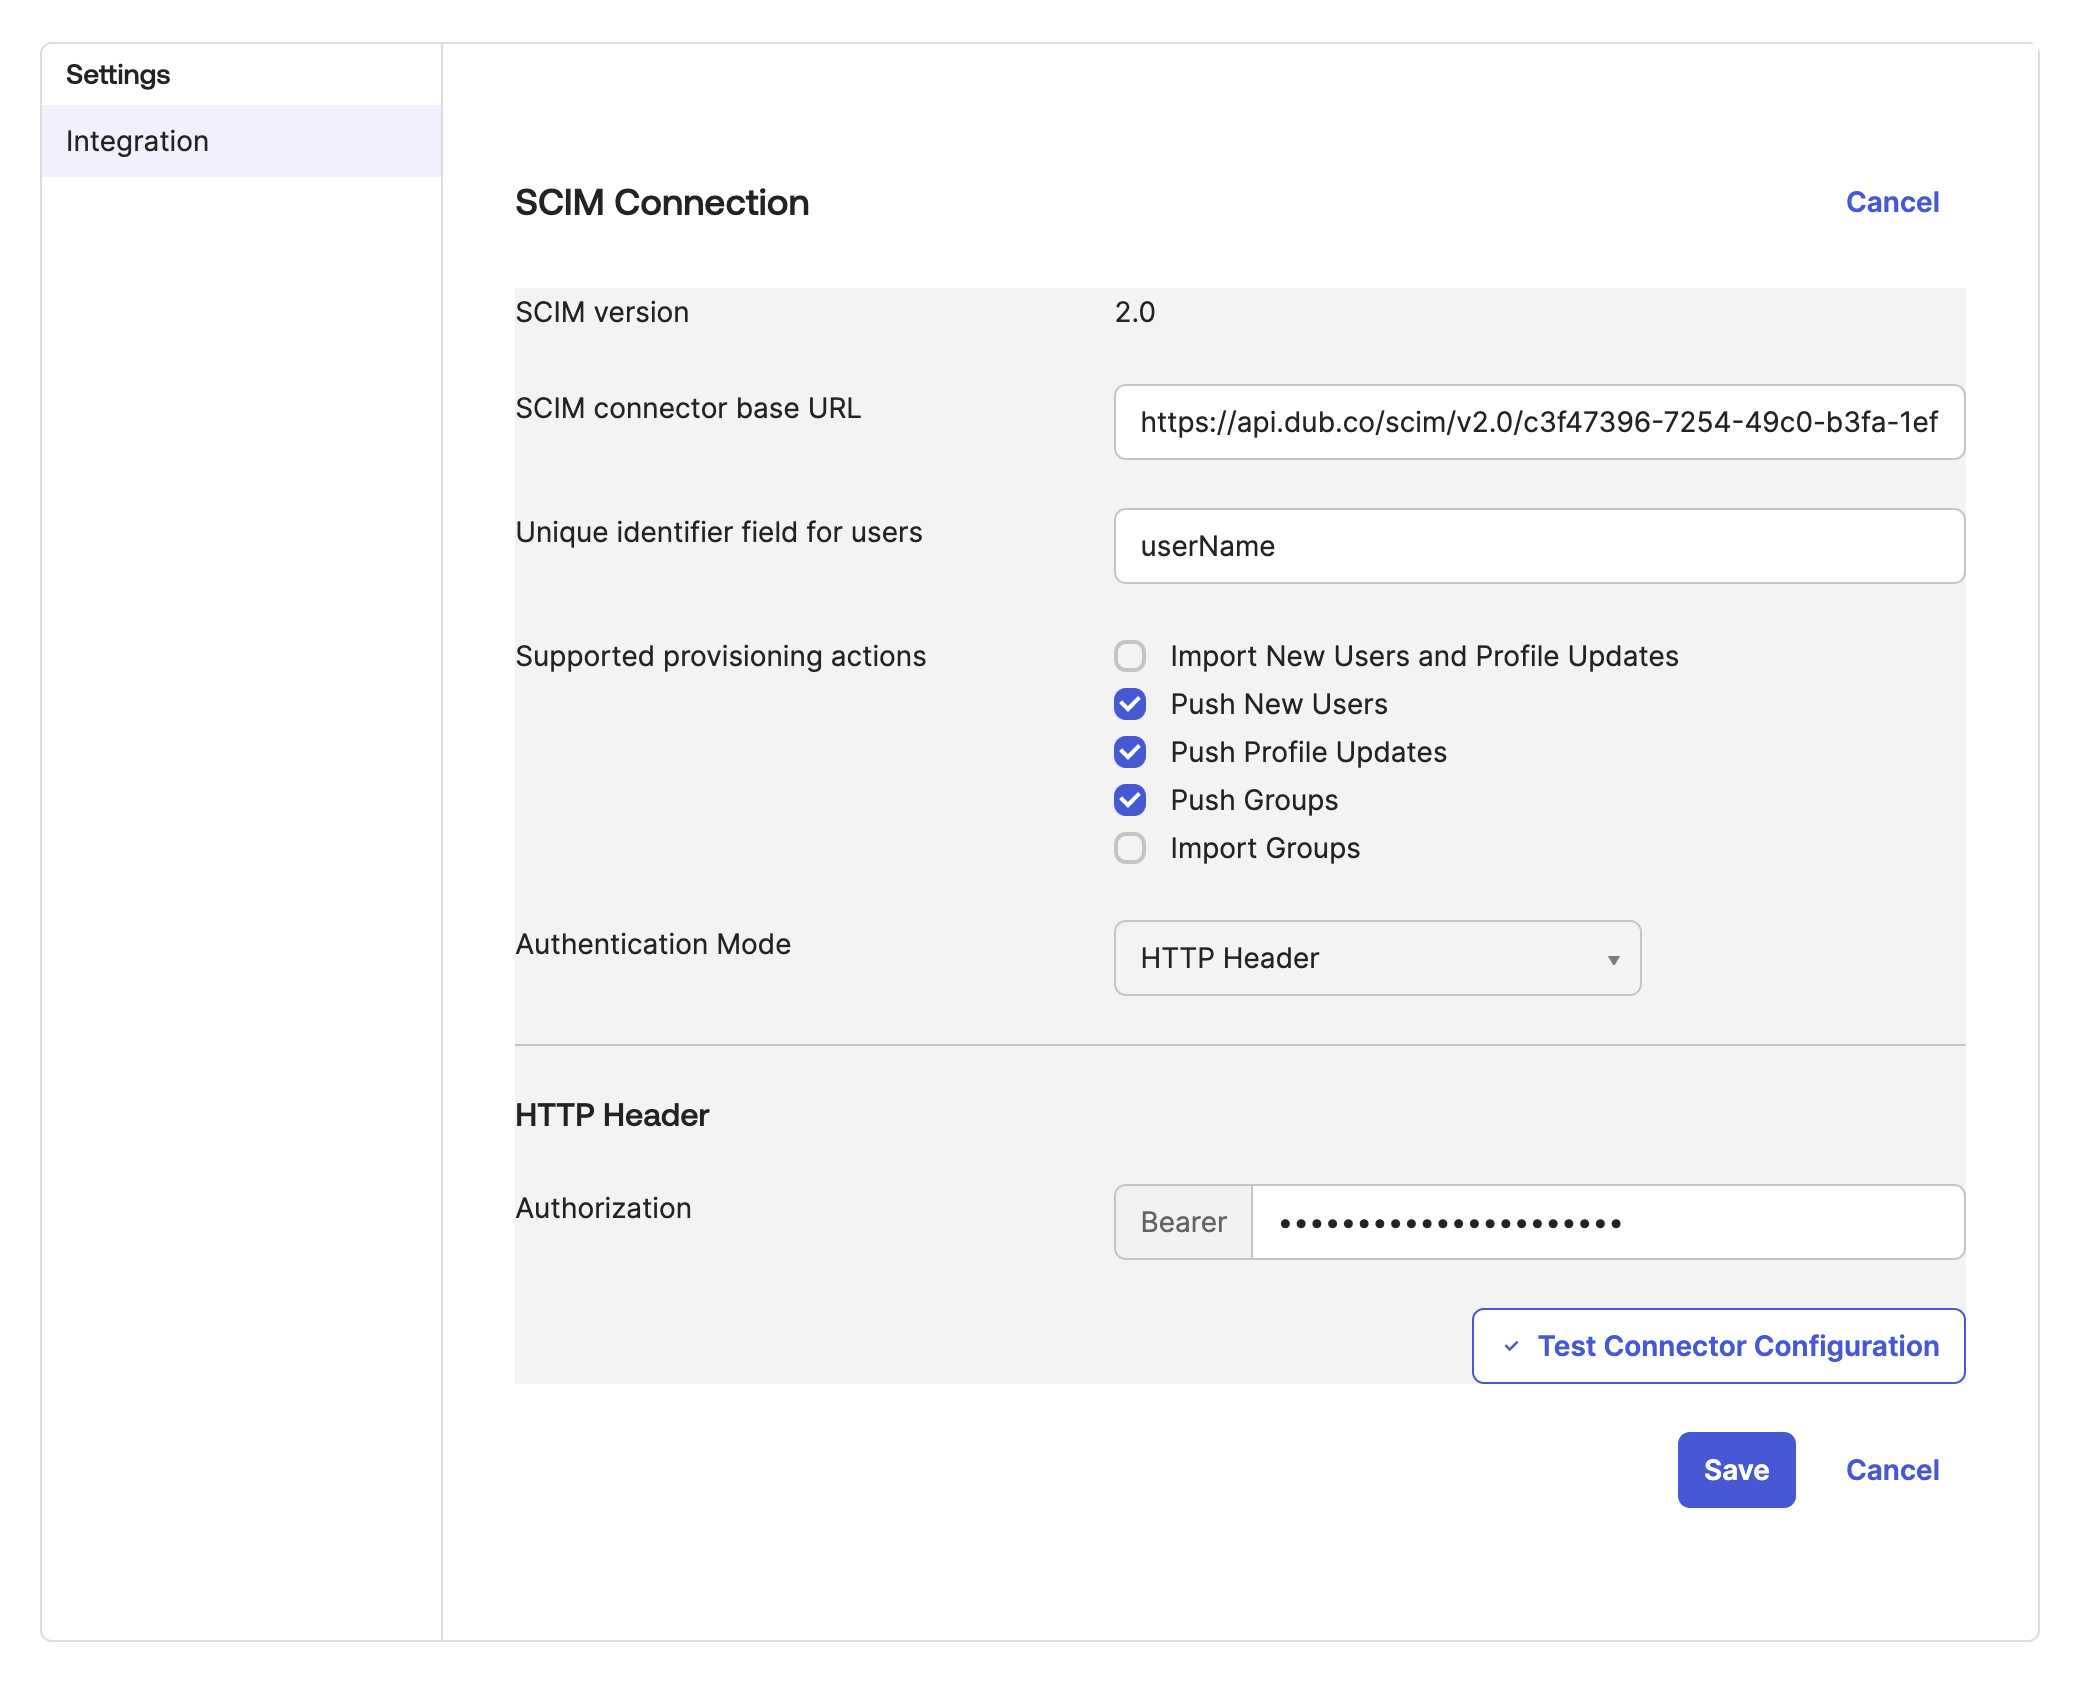
Click "Test Connector Configuration" to verify that the connection is working, and then click "Save".
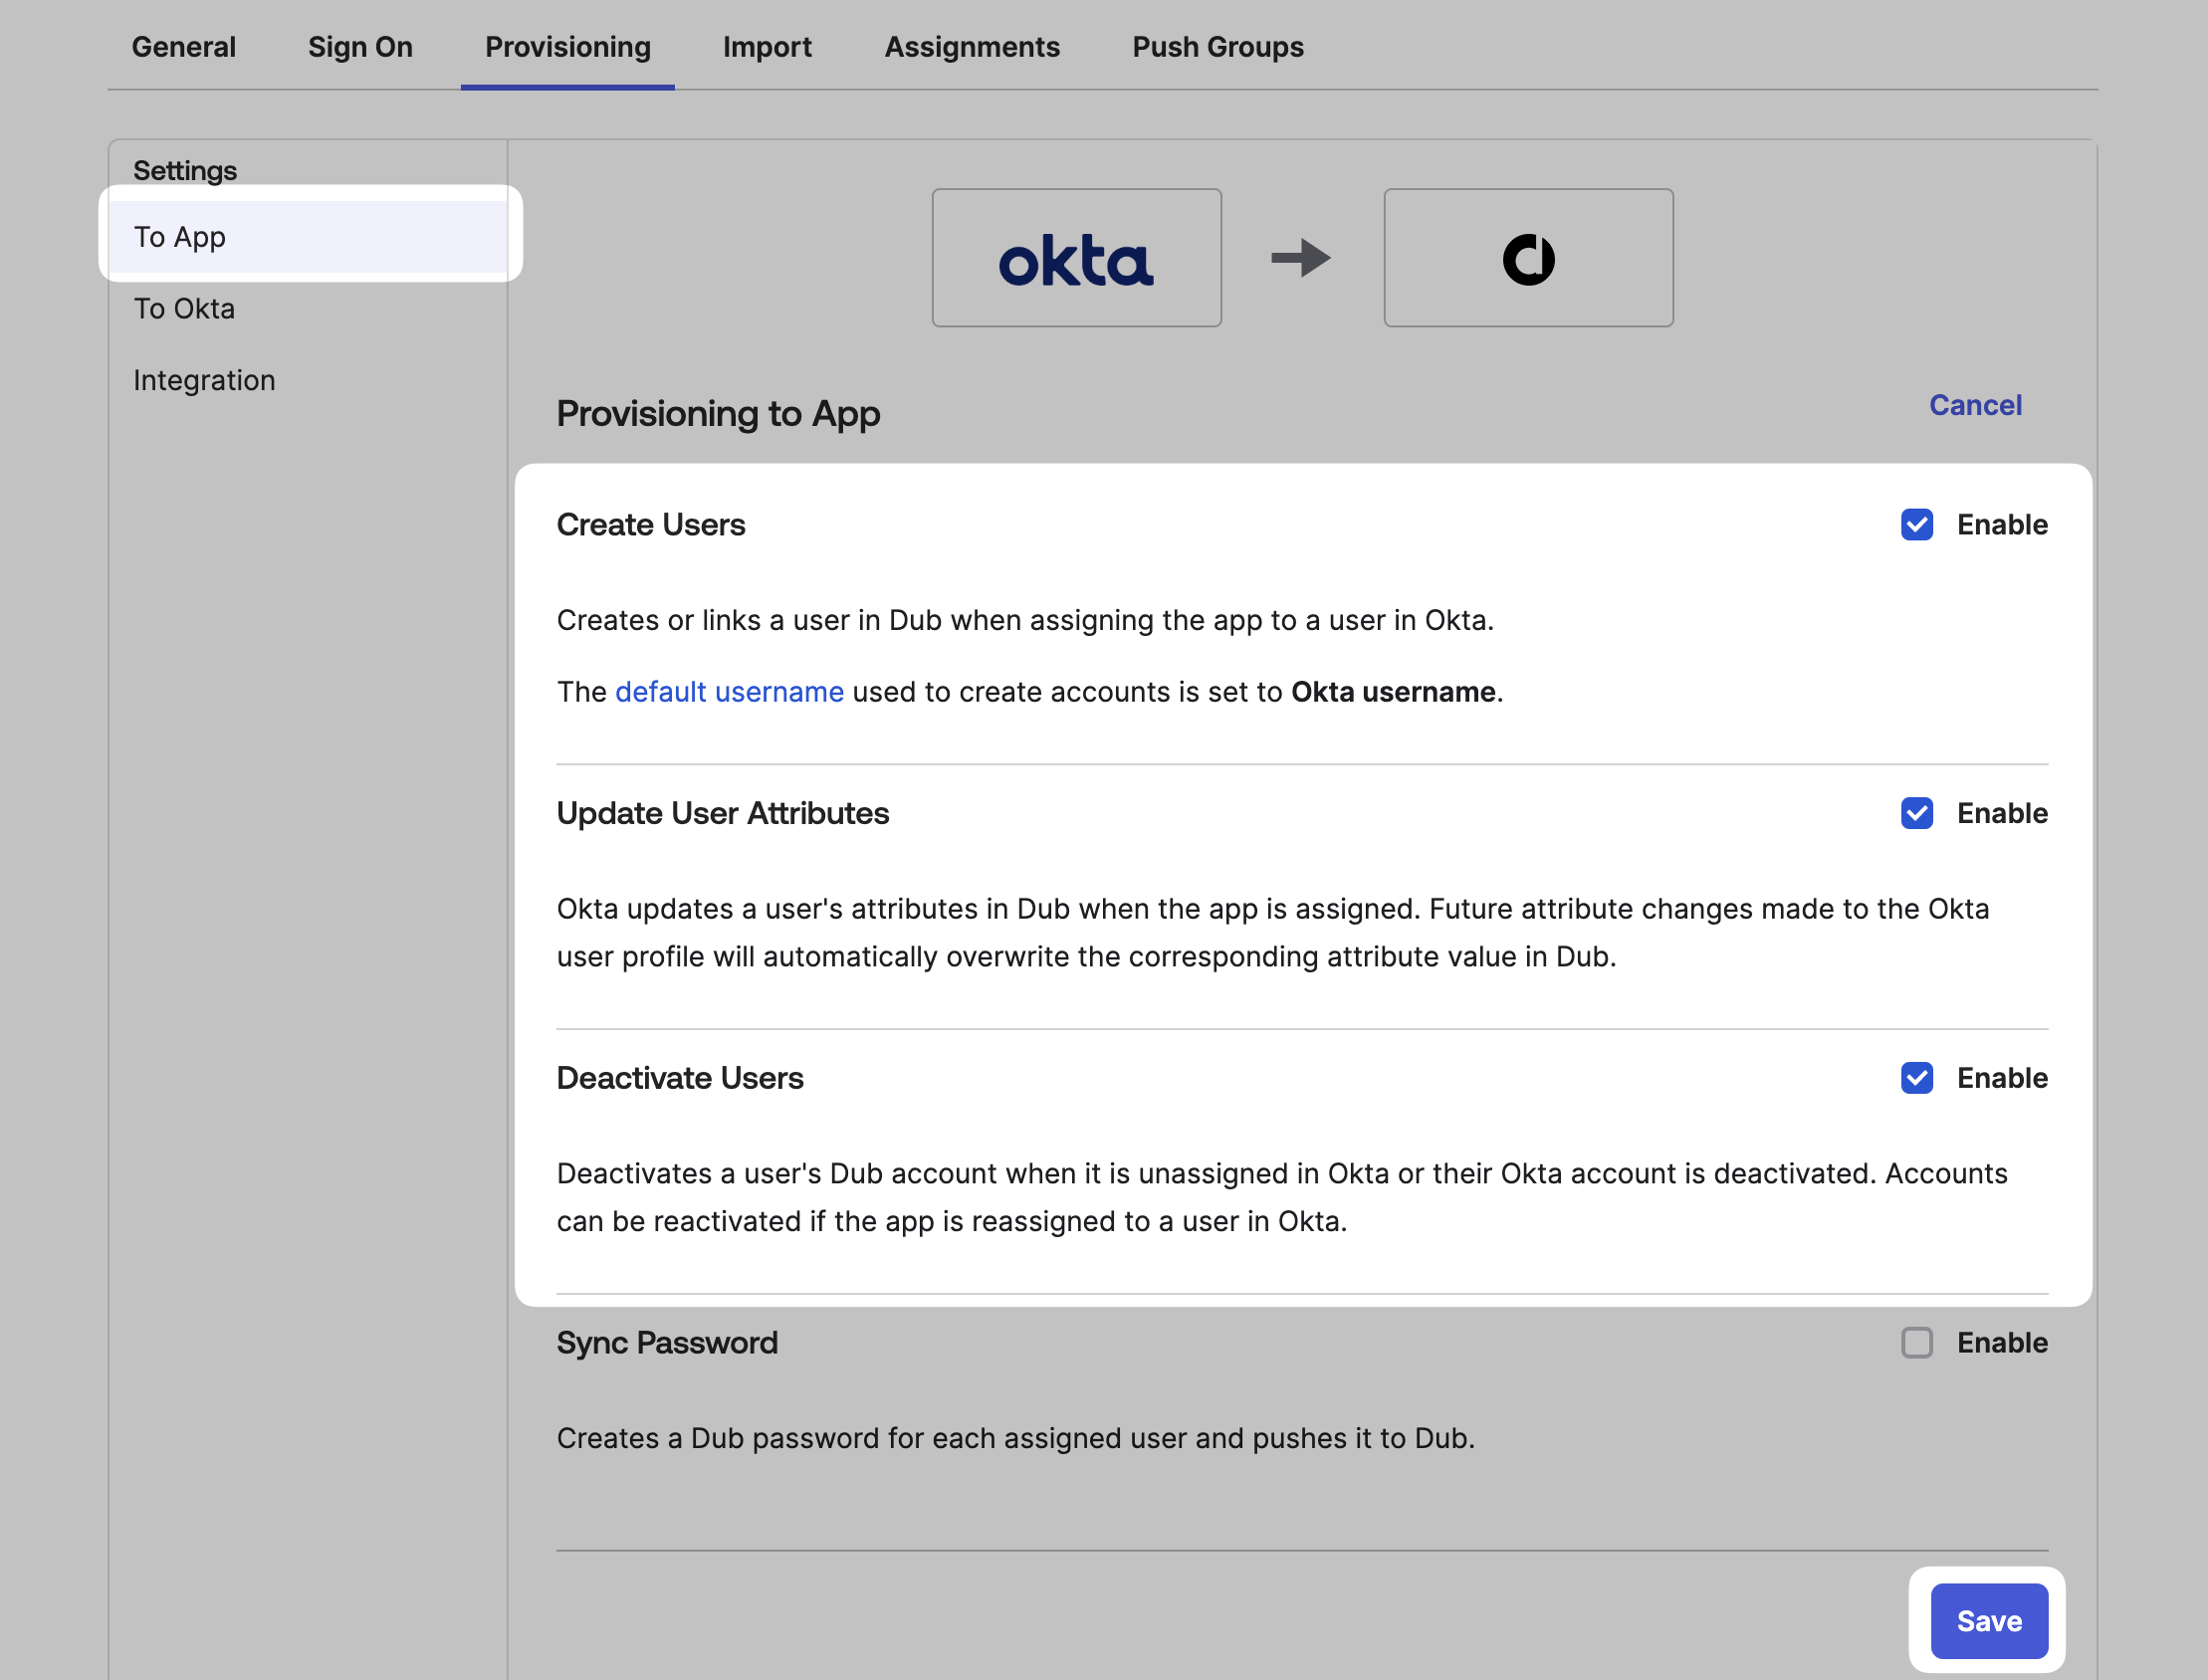
Step 3: Configure Provisioning Actions
Under the To App section, click Edit.
Check the following options, and click Save:
- Create Users
- Update User Attributes
- Deactivate Users
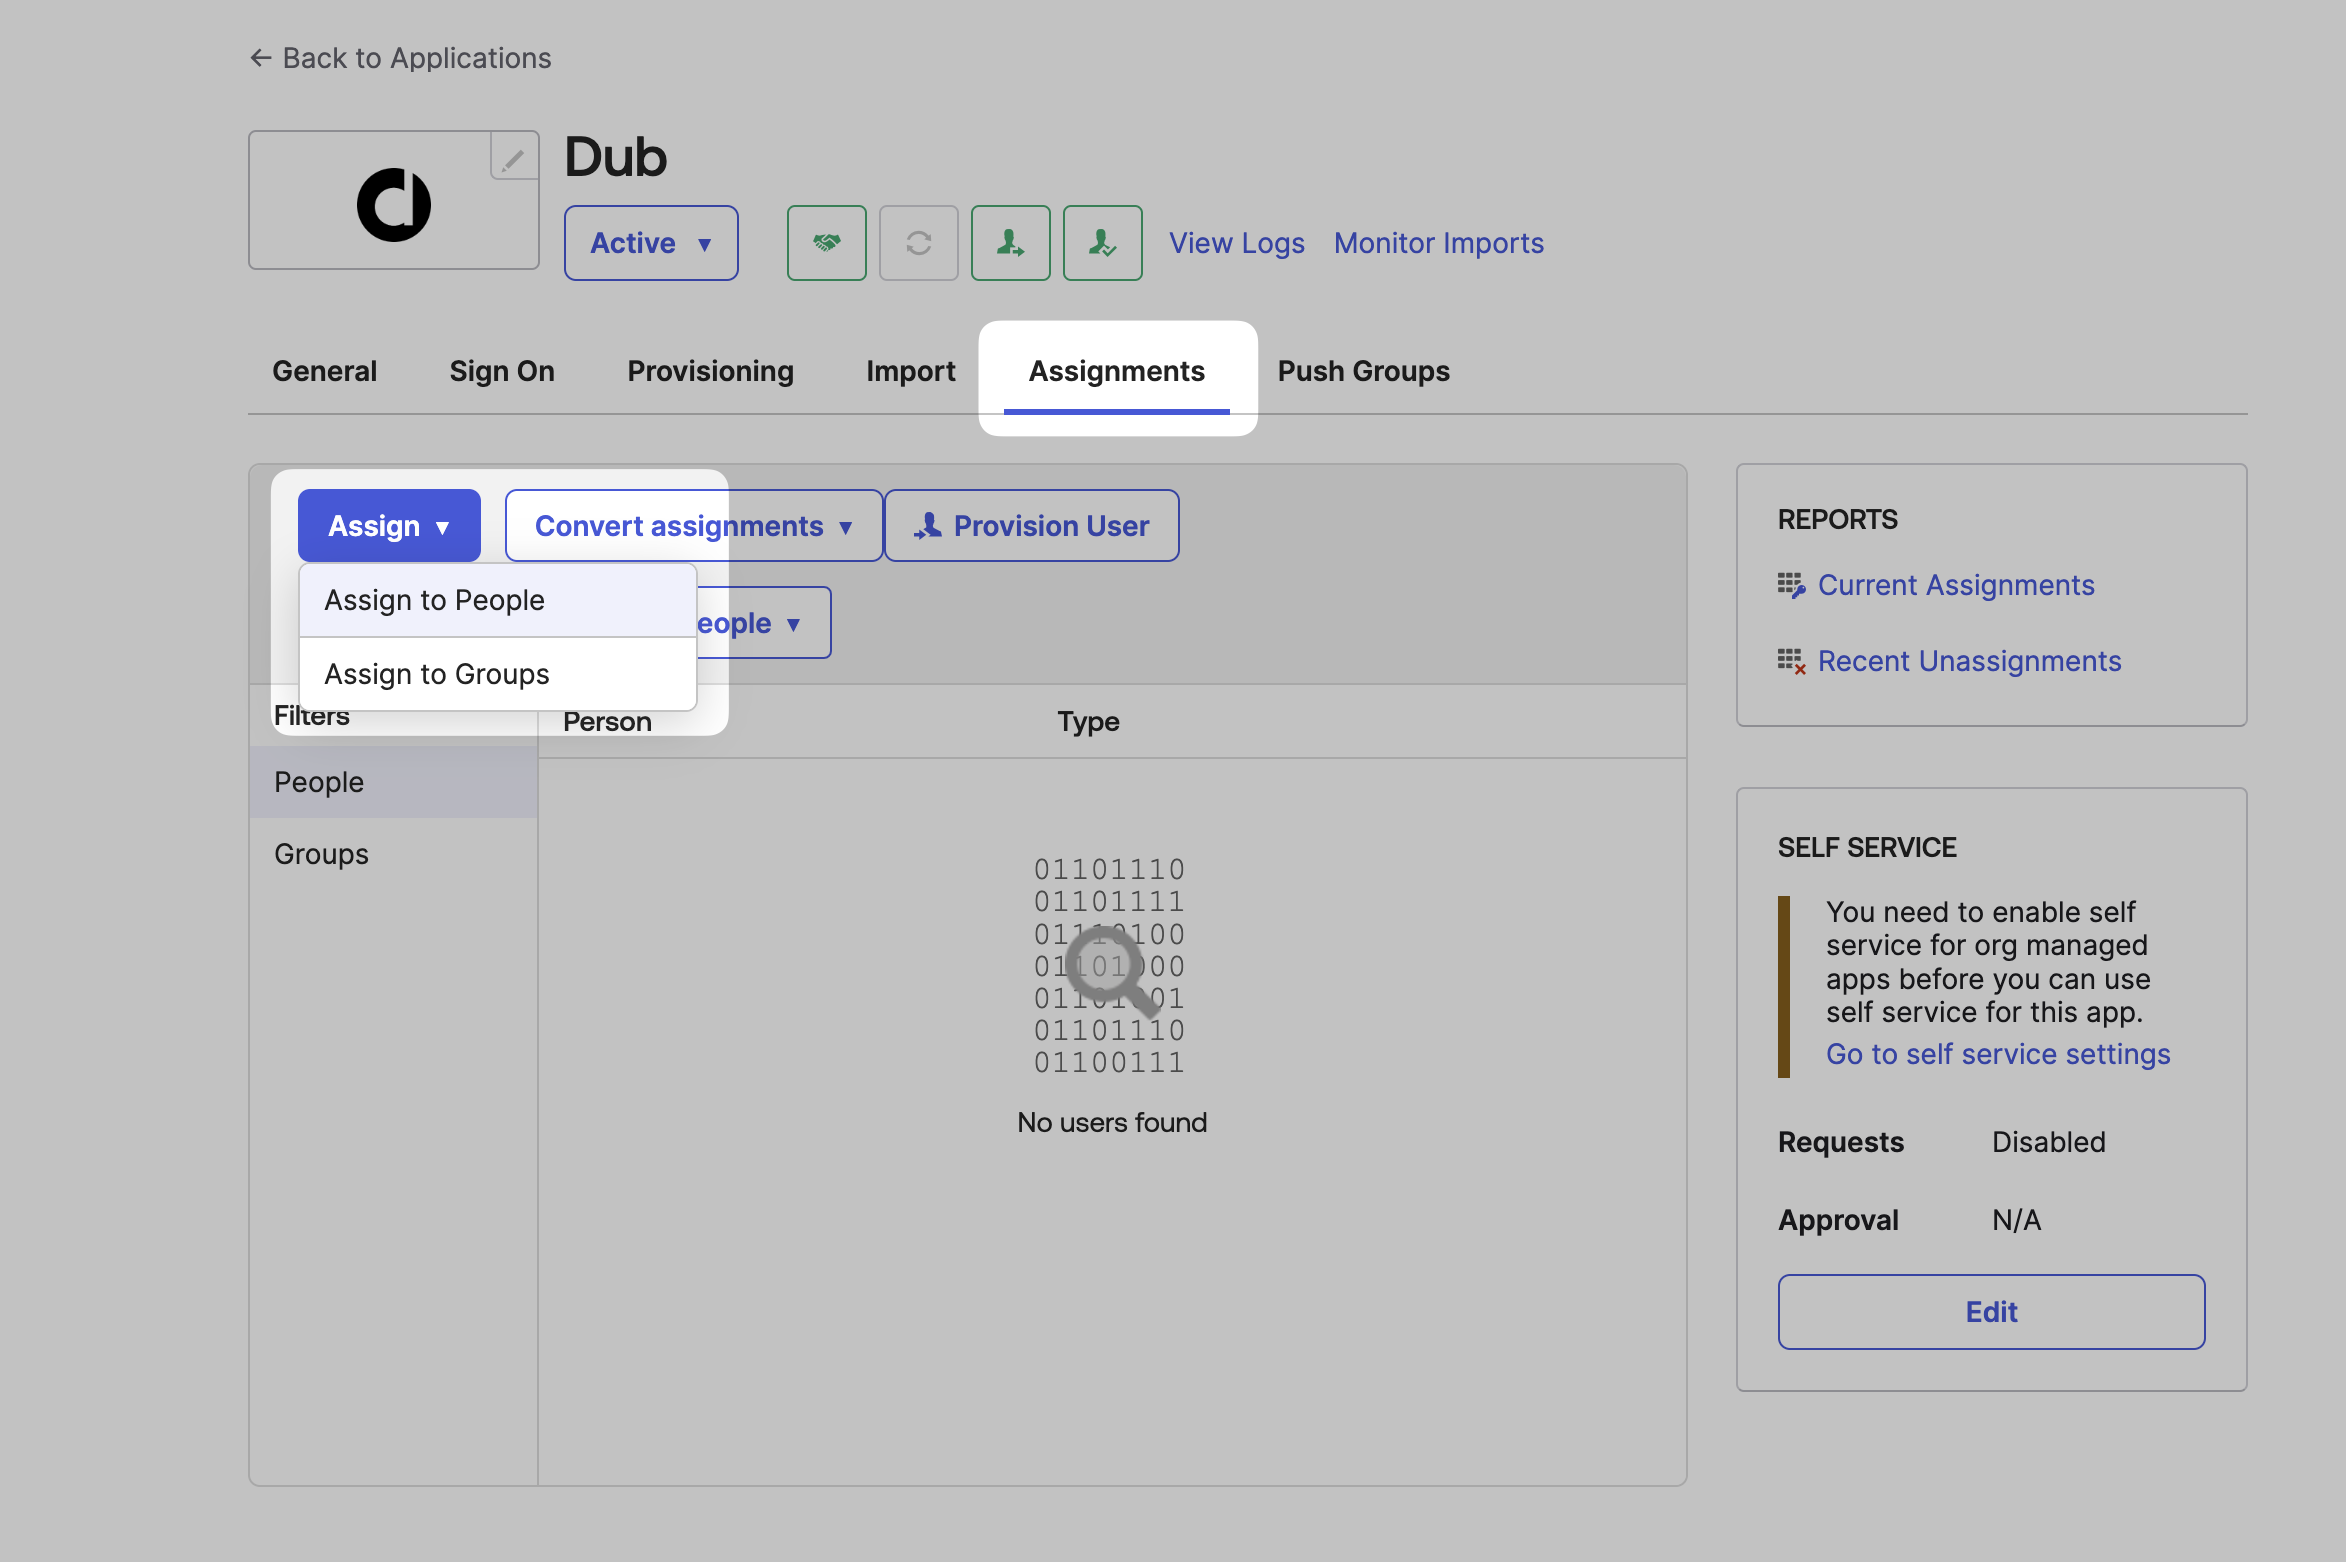
Step 4: Assign Users
Once you've configured Directory sync, you can assign users to Dub directly within Okta.
Click on the Assignments tab, and click Assign. You can choose to assign users individually, or assign them in bulk by group.
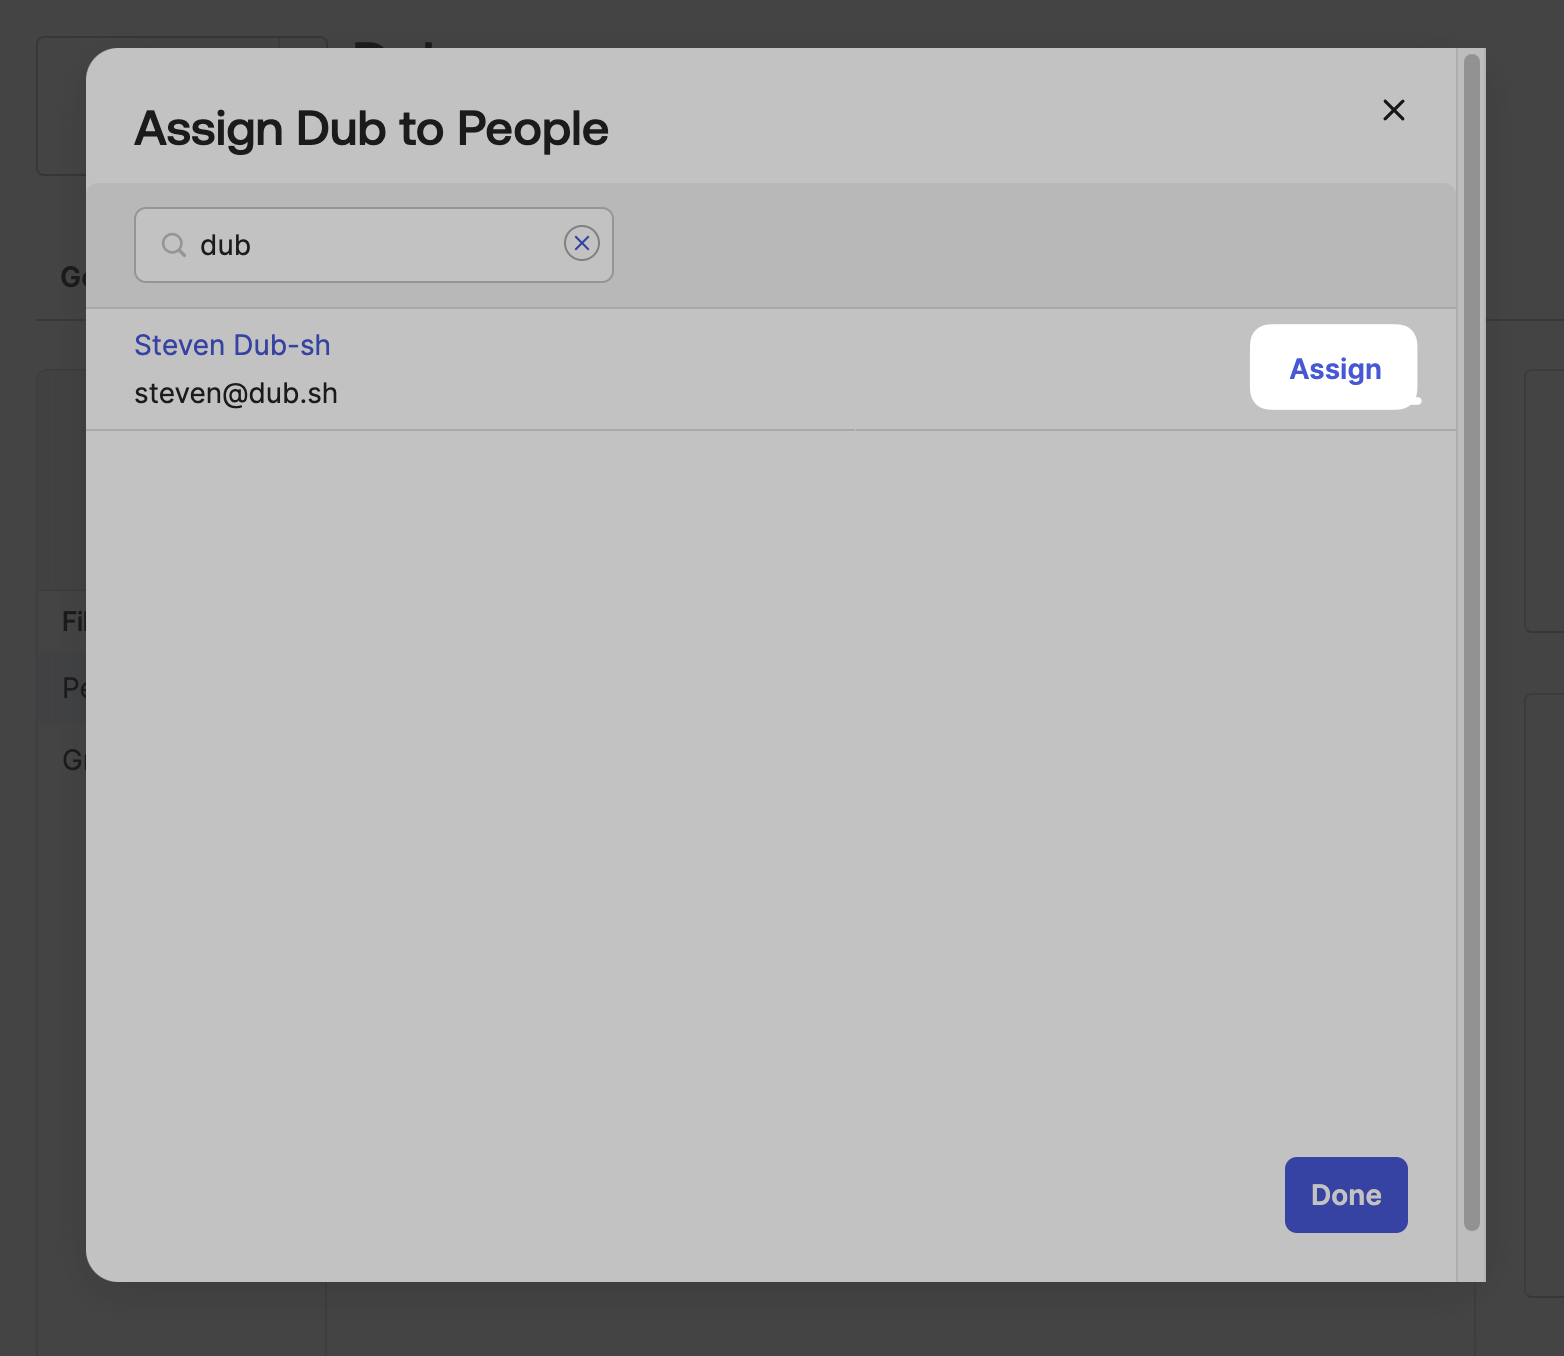
Select the users or groups you want to assign and click Assign.
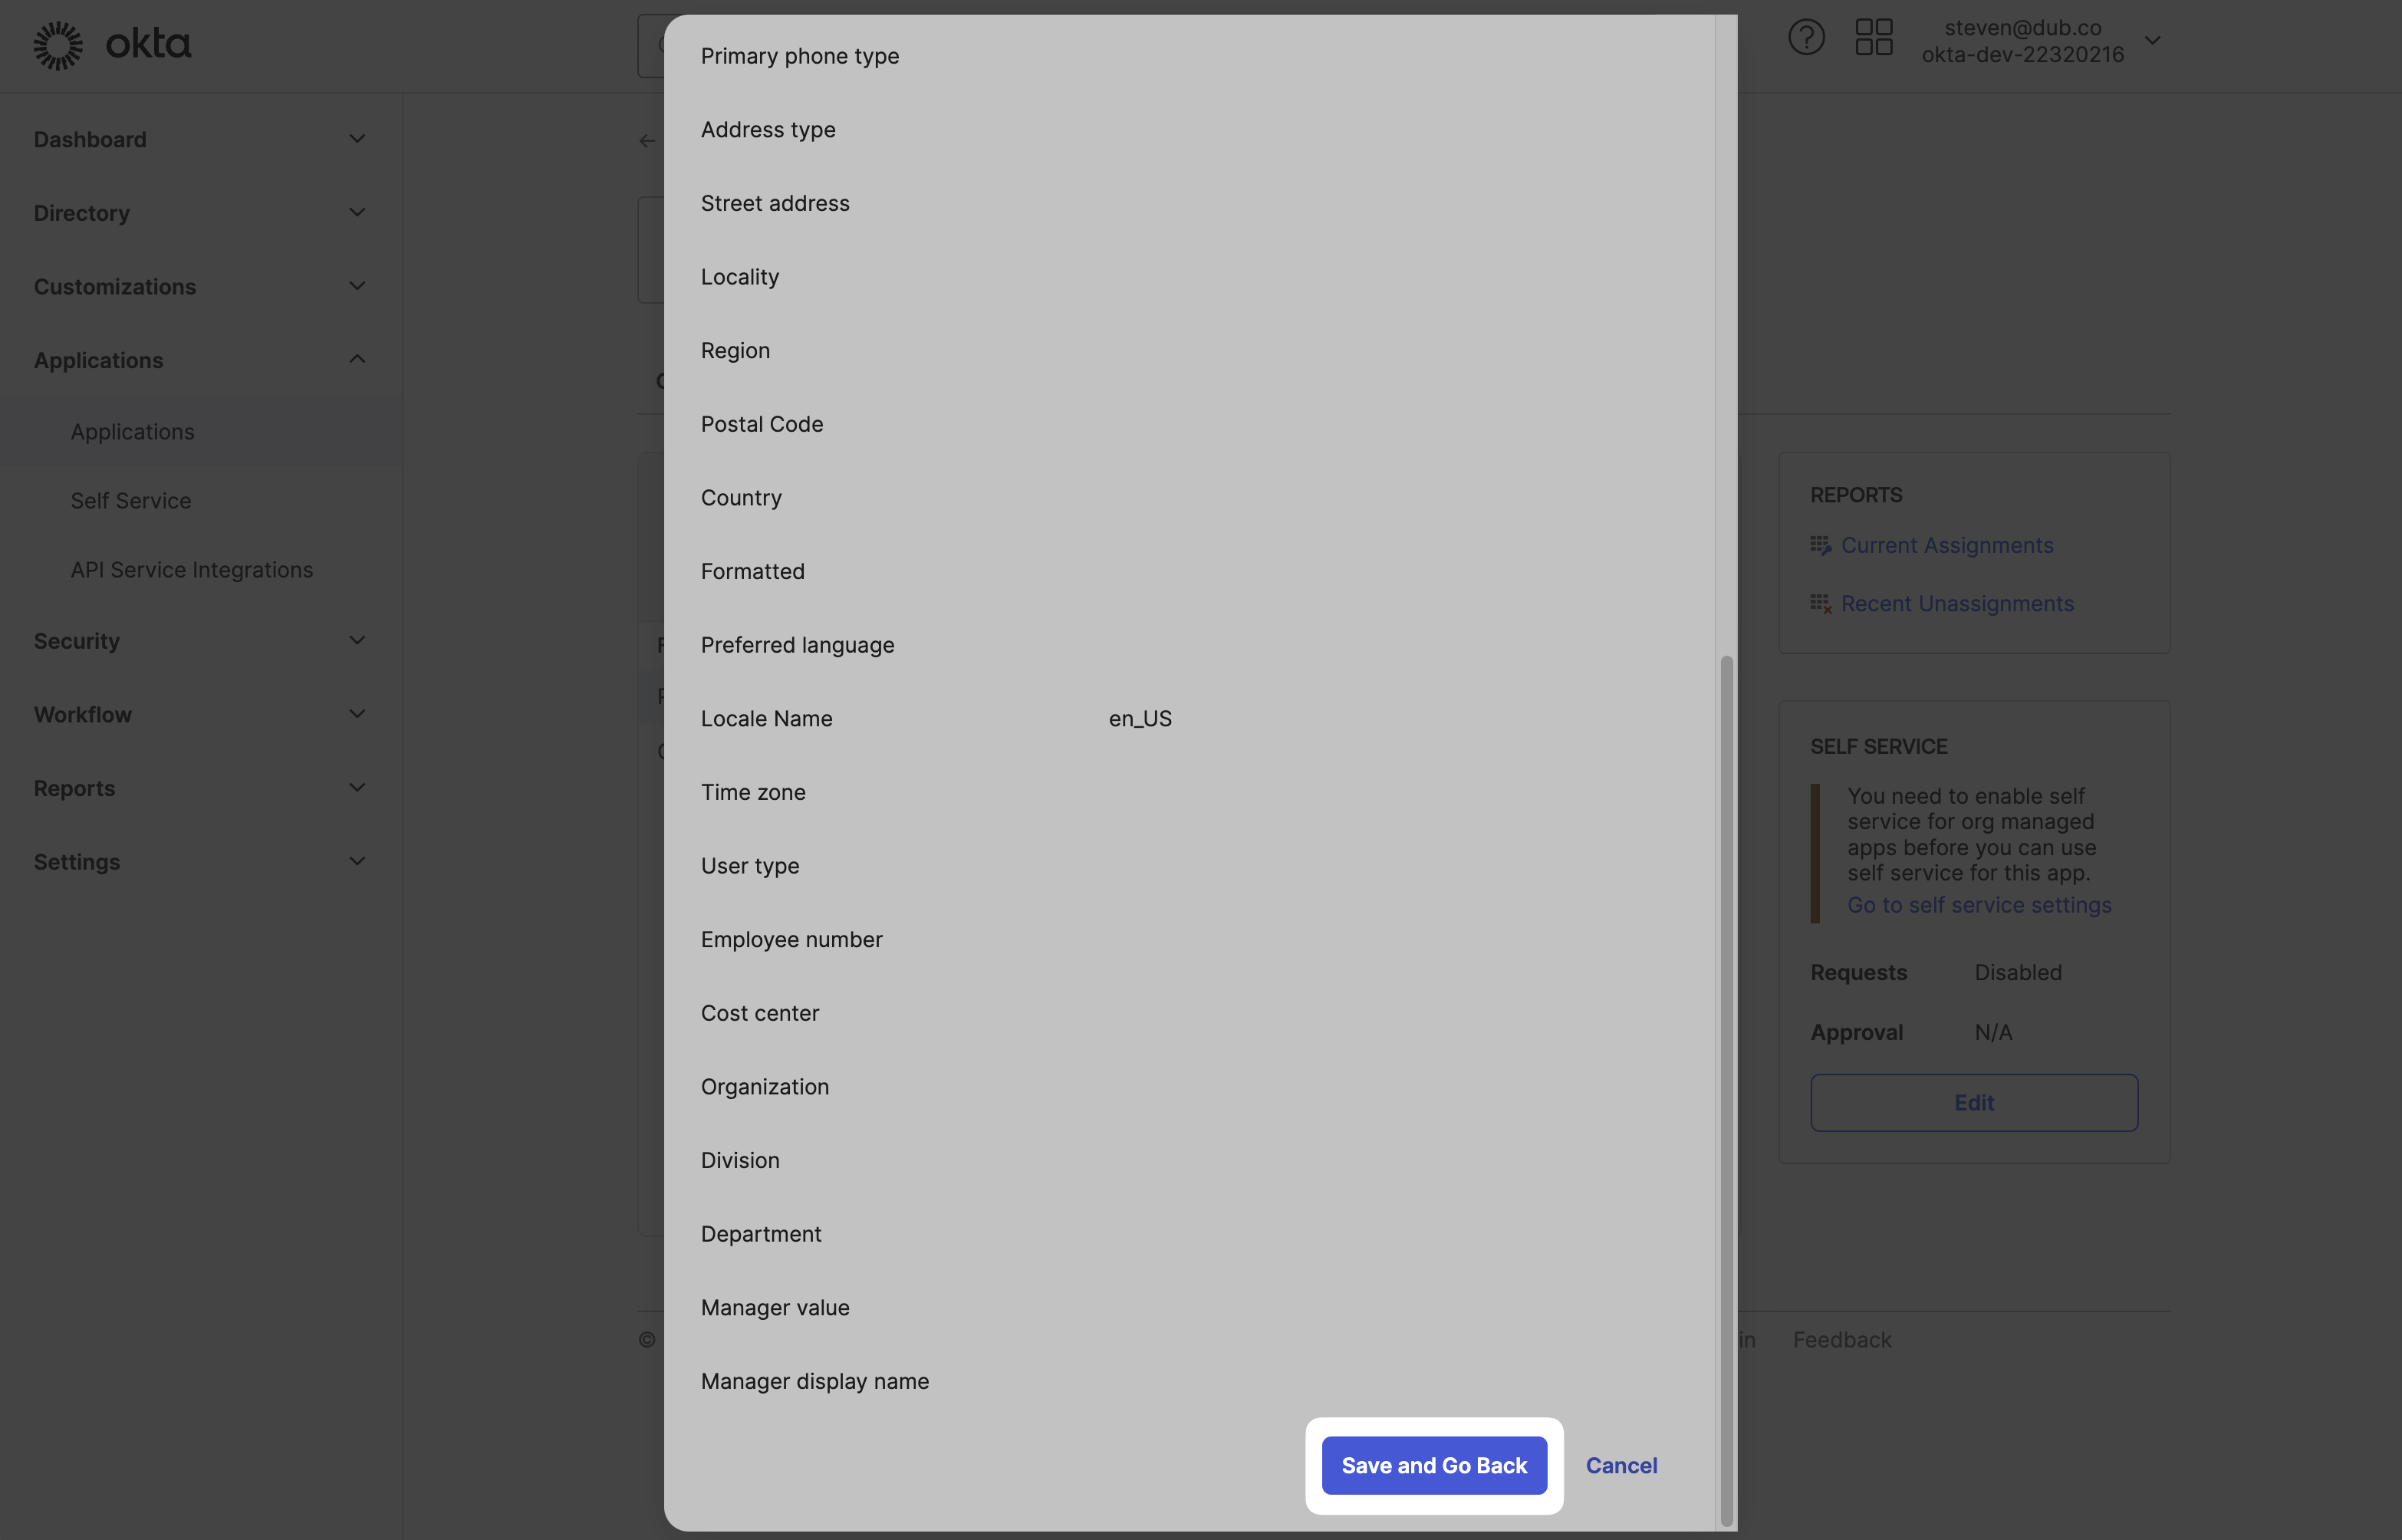
In the next screen, scroll to the bottom and click Save and Go Back.
Your assigned users should now receive an invitation email to join your Dub workspace.
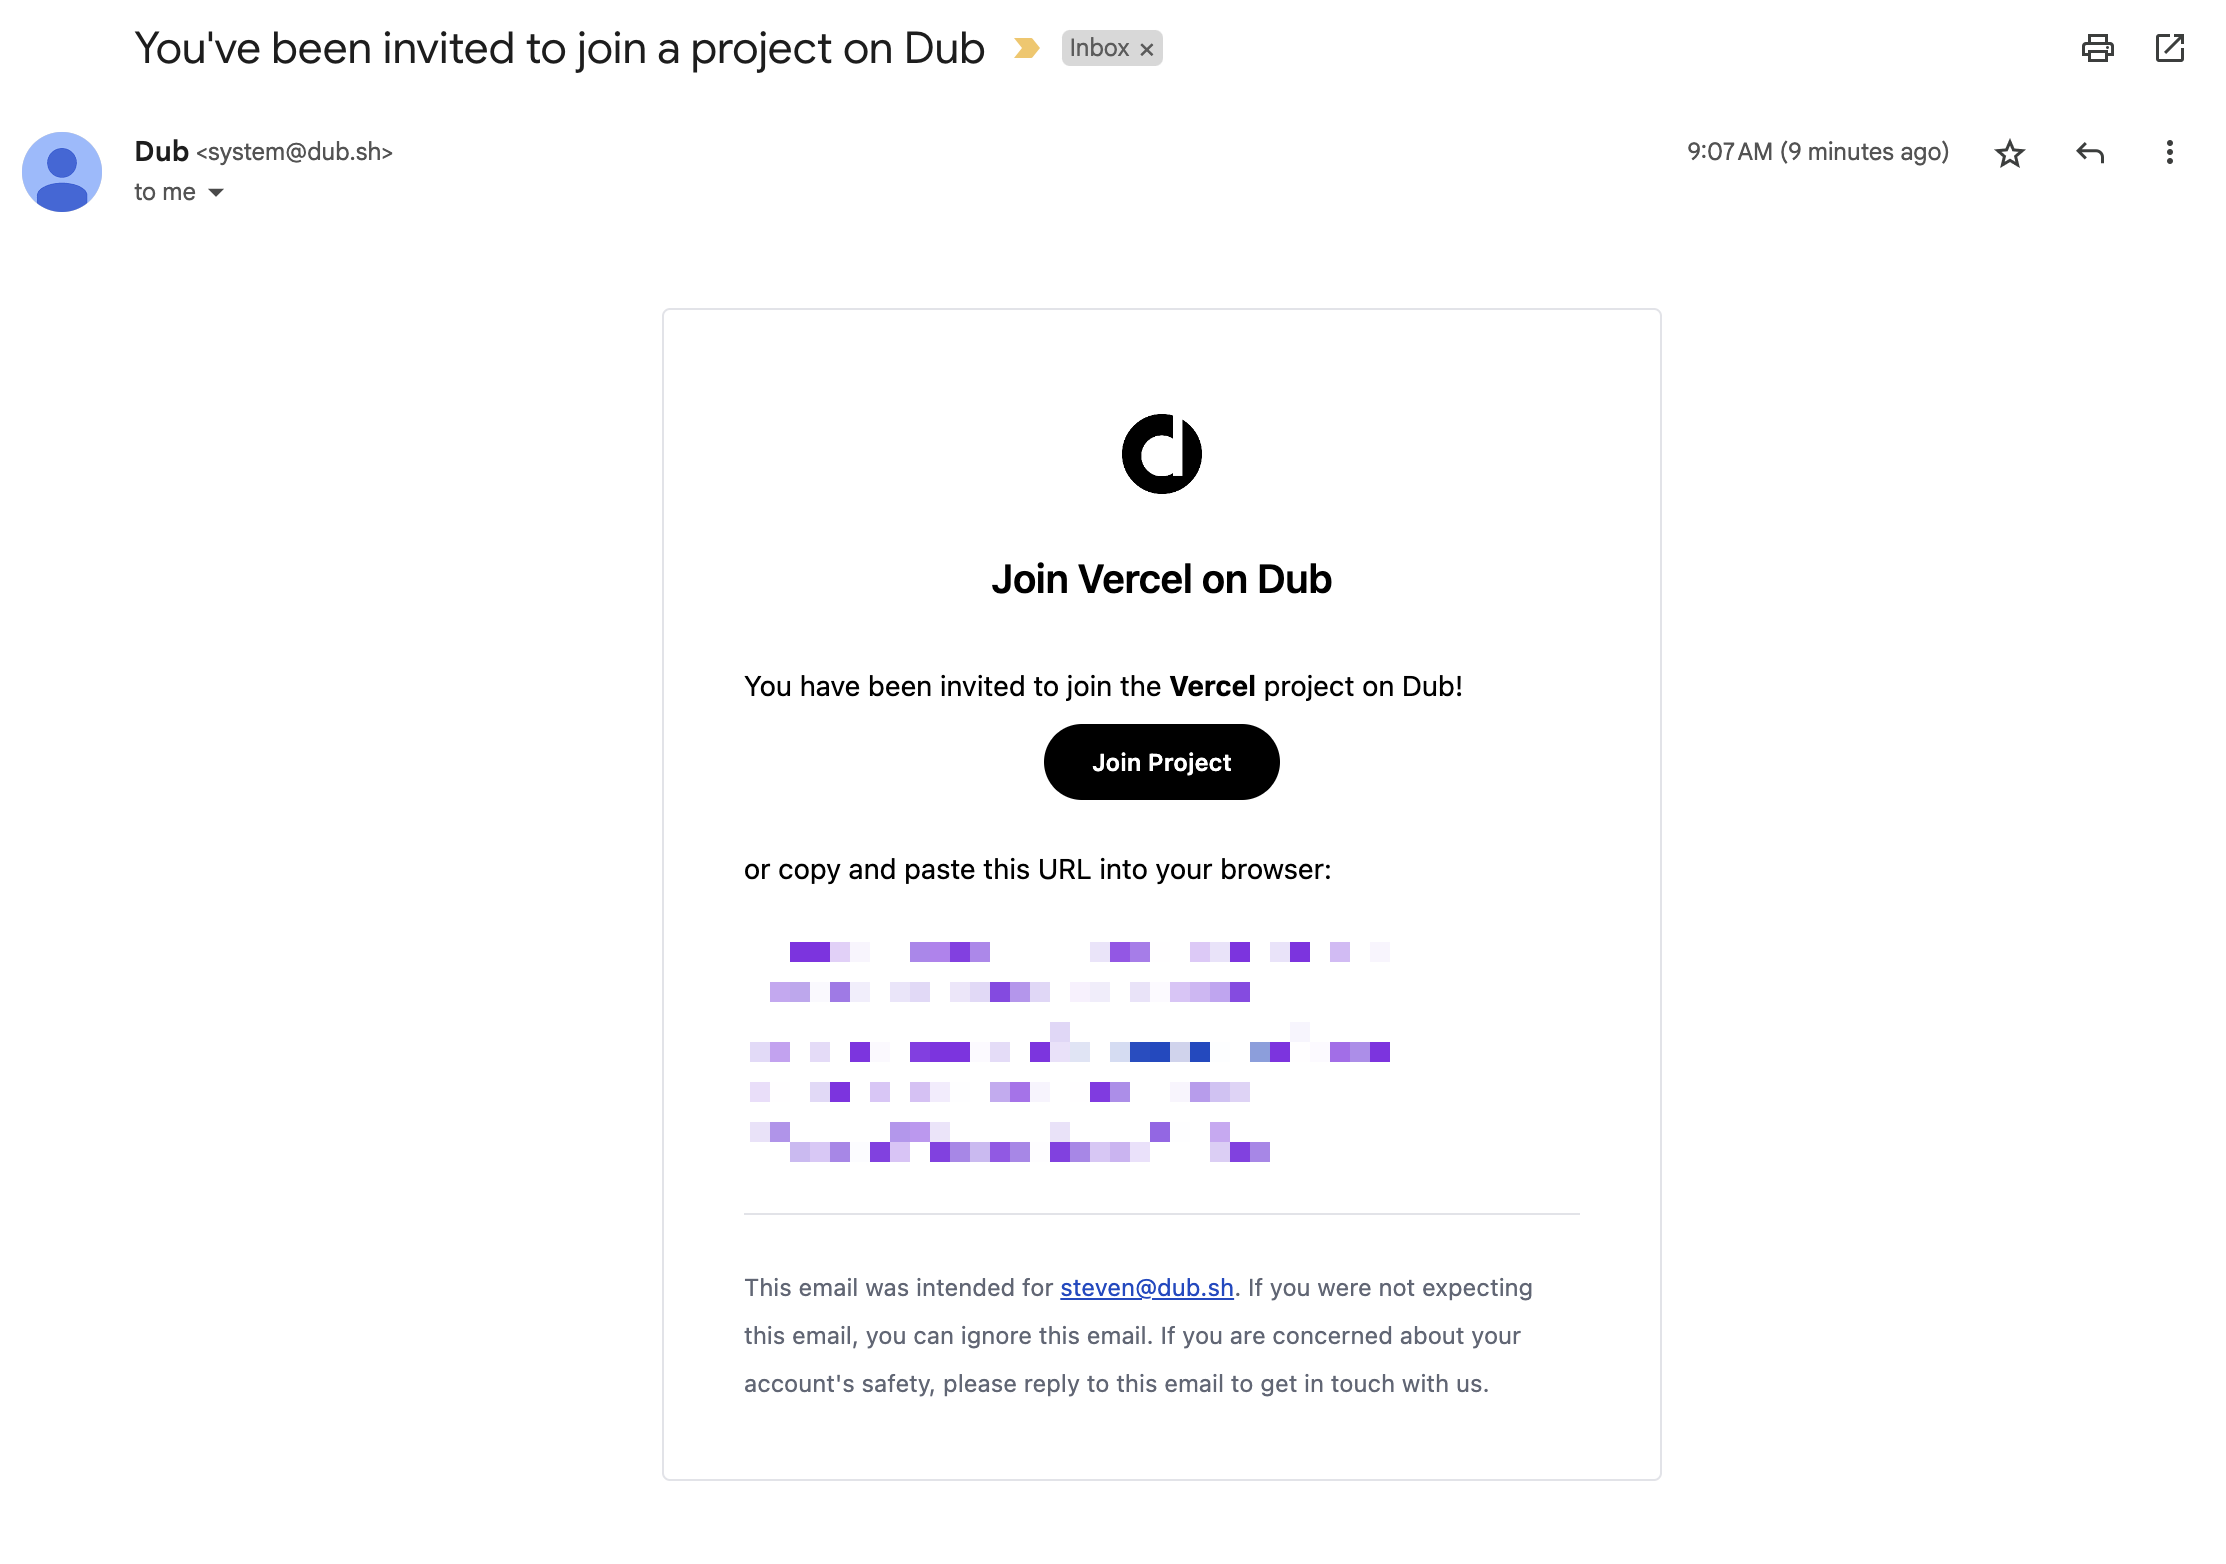
They will also be able to sign in to Dub using Okta SSO.